


Building an Insulated Garden Room or Garden Office
21.07.2018
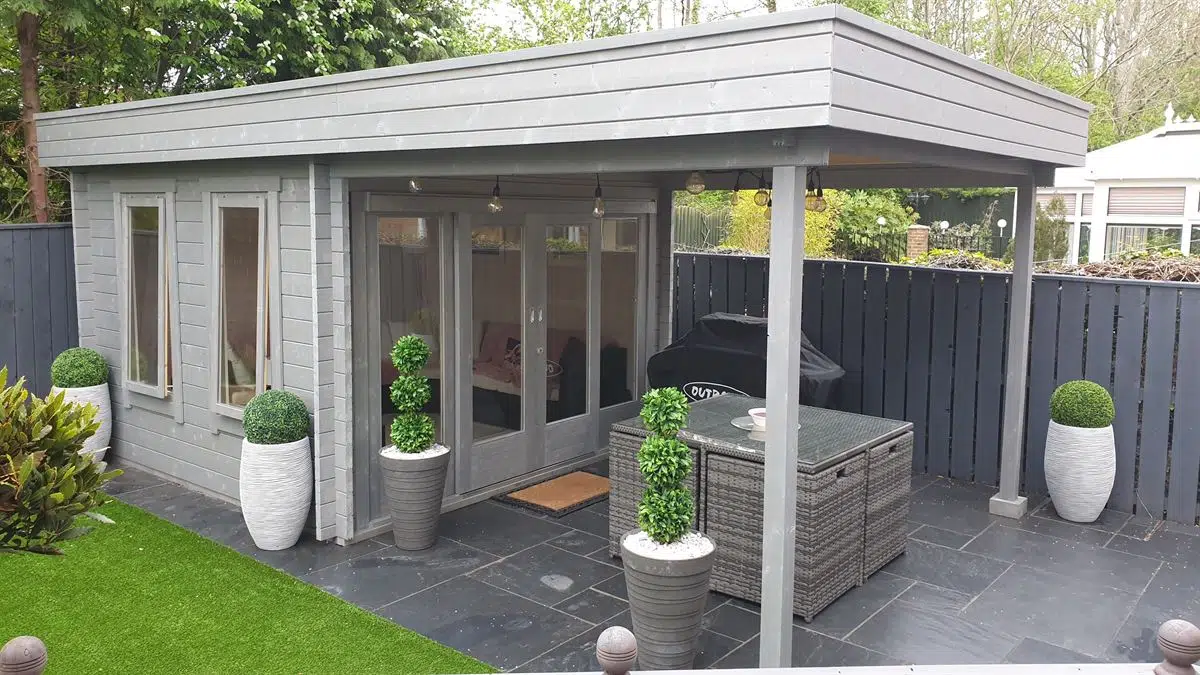
The majority of Summerhouse24 garden log cabins are used all year around by our customers. Whether you are after a log cabin office to work in, garden gym, yoga room, garden room, snooker room, games room, guest house or a dining room, you still don’t want to limit its use to five or six months a year.
Building an Insulated Garden Room or Insulated Garden Office which can be used all year around is easier than you may think. To achieve this, our standard log cabin kit requires just the addition of floor and roof insulation, durable roofing felt or shingles and light heating for colder months. Insulating your cabin also helps to keep it cooler in the summer months.
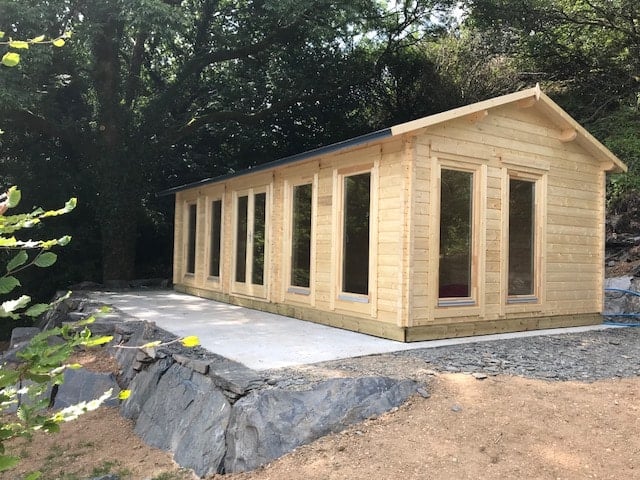
We are sharing some photos from a recently completed 30m2 log cabin installation we completed. This cabin had floor and ceiling insulation and an EPDM rubber roof finish.
Our customer wanted to build an art and hobby studio in their garden and so they acquired the Garden Room C, which is one of the top selling large garden room choices of our customers. The standard kit of this and other Summerhouse24 70mm cabins consists of extra thick 70mm wall planks and other prefabricated wooden components made of the best slow grown Nordic spruce, 94mm impregnated foundation beams, 28mm floor boards, 18mm roof boards, strengthening metal rods for inserting in predrilled holes in some parts of the walls, four metal storm braces inserted throughout the entire wall and fixed with nuts in all four corners, superb quality double glazed doors and windows, basic roofing felt and all metal fixings.
Building a log cabin always starts from a base. Our customer chose a concrete slab, which is the most common base type for large log buildings. This base type is durable and ensures great balance and stability of your cabin.
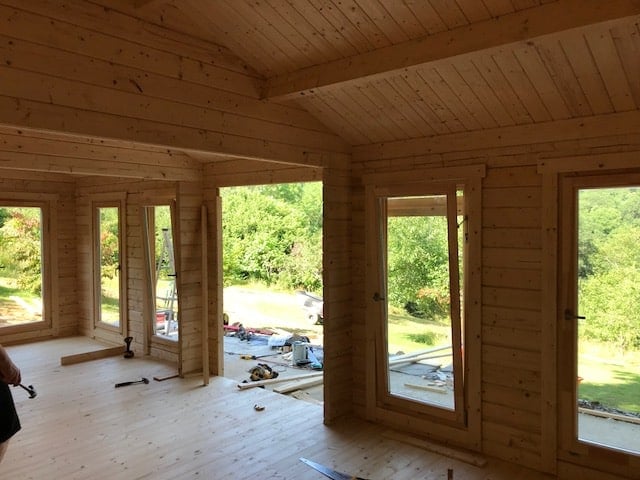
Cabin installation itself together with insulation took two days. You can see a full 44mm log cabin installation in this 20-minute video. For insulating the roof and floor we used Celotex TB4000 board in 25mm thickness. Celotex board is a high performance PIR insulation ideal for overcoming thermal bridging and ideal for use in between and under rafters.
Once the complete cabin has been assembled, but before the floor boards and roof finish have been laid, we install the Celotex board. For the floor, the insulation boards are cut to size to fit snuggly in between the base frame joists. Once the boards are fixed in place with screws, we lay the floor boards. For the roof, the insulation boards sit on top of the roof boards and are secured in place with screws. They are not visible from inside the cabin.
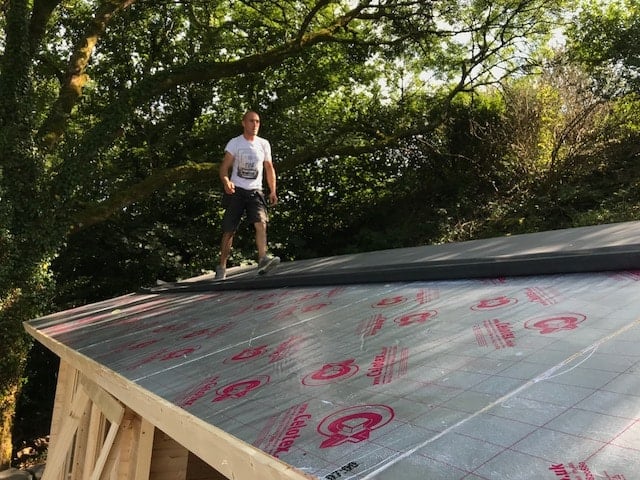
Our customer chose Firestone RubberCover EPDM Roofing for their chosen roofing material. EPDM is a high performing rubber membrane and fixing accessories which facilitate a seamless roof cover. EPDM is a great choice as it is very durable and will last decades. To fix the EPDM in place, a glue is applied on top of the insulation boards and the rubber cover smoothed down on top. The edges are then finished with smart edge profiles that provide a secure and tight-fitting seal. The edges can also be fitted in to guttering if required.
Another way to cover and protect the cabin roof are bitumen roofing shingles. We use Finnish made Icopal shingles, which come in different colors and have a 15-year factory guarantee.
As a result, our customer acquired 30m2 extra space for all year-round use. The entire building, including cabin installation on a ready-made base, insulation materials and labor, as well as a safe and durable roof were all completed within a budget of £12,000 which is one of the most cost-effective ways to expand your living space or add space for any other need.
Categories:
Blog
Whether you are new to saunas or an experienced user, you might be curious to learn about the ideal sauna temperatures. When it comes to how hot a sauna should be, the answer is not a very straightforward one because there are several factors involved such as the type of sauna that you are using,…
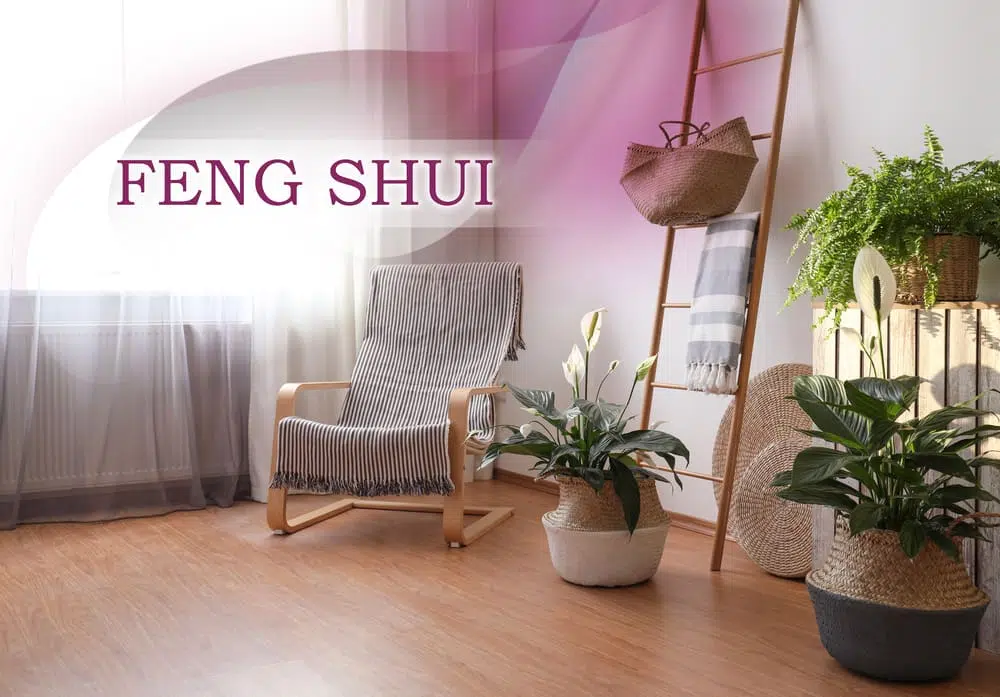
In 2024, as we celebrate the ‘Year of the Dragon’ in Chinese mythology, a year rich in symbolism representing strength, power, wisdom, nobility, good fortune, and success, it’s crucial to harness positive energies not only within our homes but also in the extensions and additional spaces nestled in our backyards. Garden rooms offer a canvas…
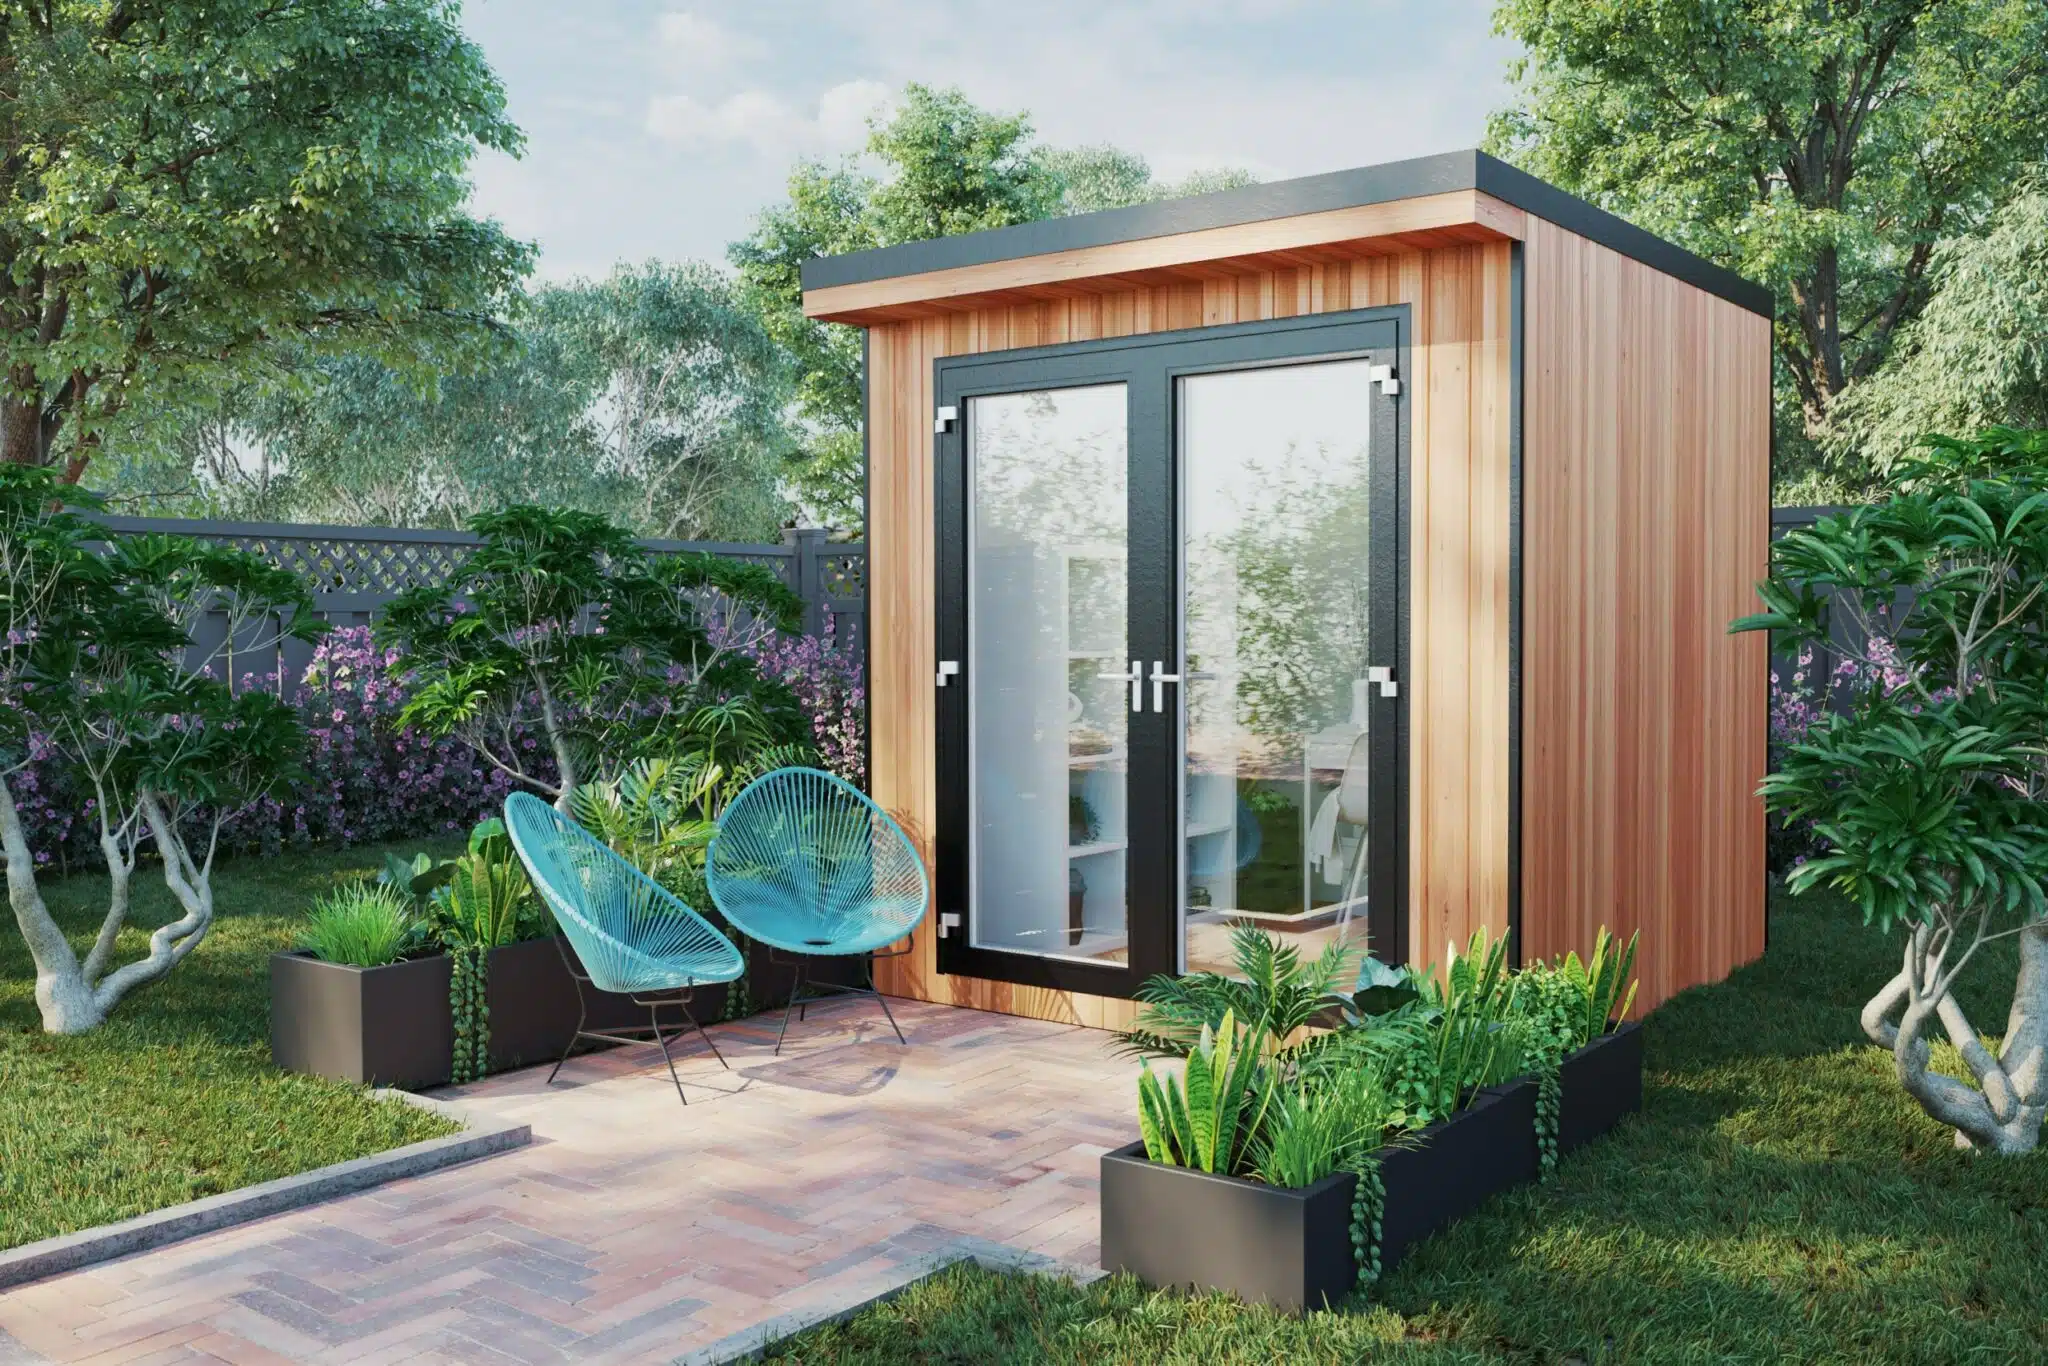
Building a garden office isn’t just about constructing a space; it’s about building a sanctuary for your work and creativity, a place where passion, not obligation, drives your day. Say hello to the garden office era, known as the best spot for those who want to run their own show. Here, you can work in…
Summer houses have always held a special place in the hearts of those seeking a serene escape from the hustle and bustle of everyday life. Our summer houses, in particular, have become beloved retreats for many customers, providing them with a perfect blend of comfort, beauty, and calmness. This blog delves into the stories of…
Want to discuss over phone. Let us call back to you
If you need any additional info regarding any product, please fill in the below form and we will get back to you, usually the same or next working day.
Have any questions regarding some product?
If you need any additional info regarding any product, please send us your questions.