How to Build a Tennis Court in Your Backyard
24.03.2021
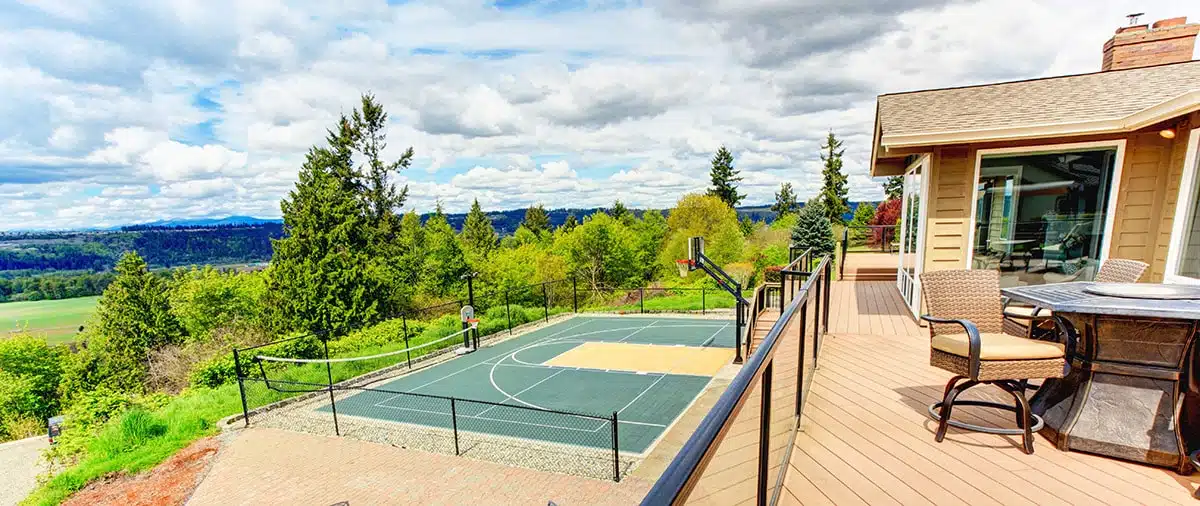
Tennis court construction is an exciting process: you can see how the court is being built in front of your eyes. A private tennis court allows you to extend your training hours and play tennis immediately, just a few steps away from the front door! Besides, a tennis court will significantly increase the value of your property in the long run.
Although each surface has its pros and cons, the best choice for a private tennis court is artificial grass. This surface is easily maintainable and body-friendly. Also, artificial grass dries quickly after rain and is much less slippery than other court surfaces.
But the main advantage of artificial grass compared to other surfaces is significantly cheaper and simpler construction. Therefore, an artificial grass tennis court can easily be constructed as a DIY project with some professionals’ help. Doing most of the process on your own lowers the costs of construction. Below are explained all the exact necessary steps of building a private tennis court by TennisKit24.
5 Steps of DIY Tennis Court Construction
It would be best if you first thought about the location of your future tennis court. If you already have a plot large enough to build a tennis court, you can start the building process immediately. However, if there is no suitable area yet, the tennis court construction is preceded by purchasing a plot and obtaining a building permit from the local government.
Step 1: Sub-base Construction
The sub-base is the crucial stage in the construction. It is also the largest part of the total cost of building a tennis court since it requires high-quality materials and correct installation technology. The sub-base is usually made of crushed stone and is about 30 cm thick, installed in different layers. A good-quality tennis court sub-base guarantees the smooth installation of the artificial grass and an enjoyable playing experience.
The sub-base construction is not a complicated job: the sub-base is similar to the structure used for building roads. The steps of sub-base construction are:
- Stripping and Removing the Existing Soil for Starting the Tennis Court Sub-base Construction
- Installation of the Backfill
- Installation of the Geotextile and the Base Load-bearing Layer of Crushed Stone
- Installation of the Curbstone Around the Perimeter
- Installation of the Middle Wedging Layer of Crushed Stone
- Installation of the Top (Grit or Draining Asphalt) Layer
If you don’t want to do tennis court sub-base construction as DIY, we recommend finding a good construction company. The best solution could be a company experienced in road construction in your area.
Step 2: Tennis Court Fencing Installation
An essential part of the tennis court construction is the fencing because it prevents the balls from getting out of the court. There are many different options for building fencing, depending on the court owner’s preferences and budget. Usually, the special tennis court fencing consists of panels where the fencing ends are generally higher and the sides lower. Posts of the fence have to be installed after the sub-base is ready and the fence panels are fixed to the posts.
Step 3: Artificial Grass Installation
The second-largest tennis court construction cost is the installation of artificial grass, which consists of two stages. First, you must untroll the artificial grass rolls in the correct order. You must glue the rolls and court lines together. After that, it is necessary to add special infill sand and brush it into the court. Both the infill sand and the artificial grass surface must be dry to ensure the best possible installation result.
Step 4: Lighting Installation
It is recommended to install special lighting for the court to textend the playing hours. The minimum intensity of tennis court lights has to be 150 lux, but the number of light masts depends on the power. Usually, either four higher or six lower masts are installed.
Step 5: The Installation of Additional Elements
The additional elements enhance the functionality of the tennis court facility remarkably. One of the most beneficial elements is a special tennis practice wall. It is possible to use a practice wall to improve every shot – forehand and backhand, slices, approach shots, volleys, and even serve. As famous tennis player Jimmy Connors has said: “My favorite opponent is the practice wall – he never misses.”
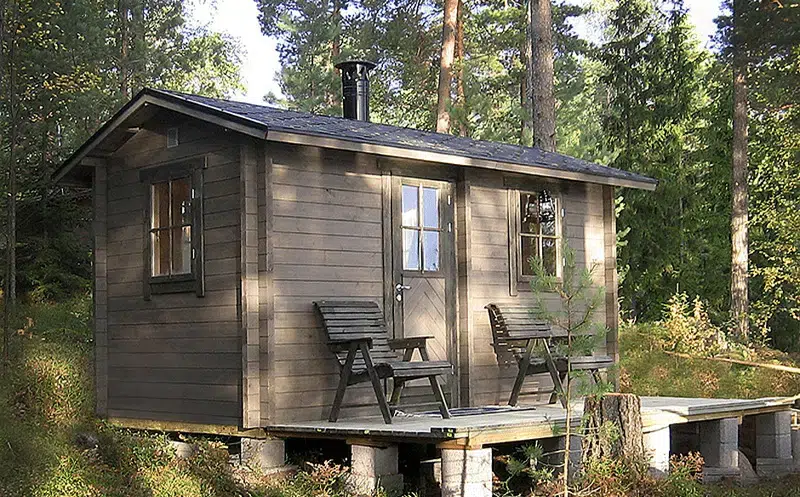
Another additional element to make your tennis court even better is the garden log cabin which can store tennis court equipment and tools needed for maintenance. Also, a sauna cabin next to the tennis court could be perfect right after a training session.
A Tennis Court in the Backyard – The Best Investment of Your Life!
You are now ready to build a tennis court in your backyard as a DIY project! As it became clear before, tennis court construction is an investment in both your life and property.
Summer is already around the corner: start building your tennis court today! Find the options offered by TennisKit24 in our shop.
At Summer House 24 our guide on cleaning wooden sheds, both old and new, focuses on enhancing functionality, safety, and aesthetics. We walk you through comprehensive shed inspection, damage and condition assessments, tips on wood decay and structural integrity, general wear and tear check,s roof and foundation inspection, moisture and leak detection, and pest control methods…

A wooden BBQ hut is much more diverse than the title may suggest. Sure, it’s brilliant for barbeques and hosting parties for friends and family, but it also offers so much more value than a couple of summer evenings each year. Here, we will take you on an exciting journey, showing you why purchasing a…
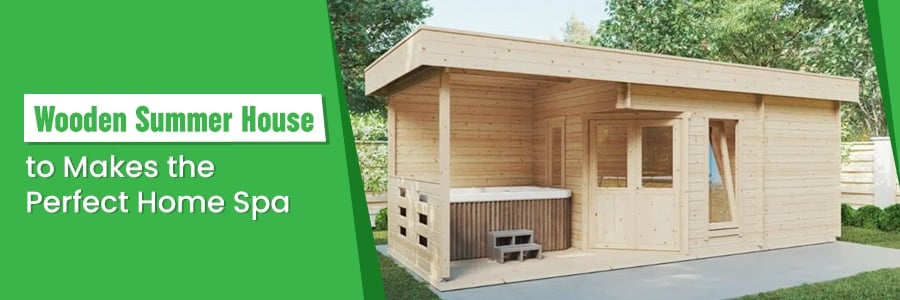
Are you considering purchasing your own home spa? Perhaps you have decided that an area of your garden barely gets used and would be the perfect place for a home spa. Maybe you often go on spa days or use the one at your local gym, but you struggle to fully relax due to the…
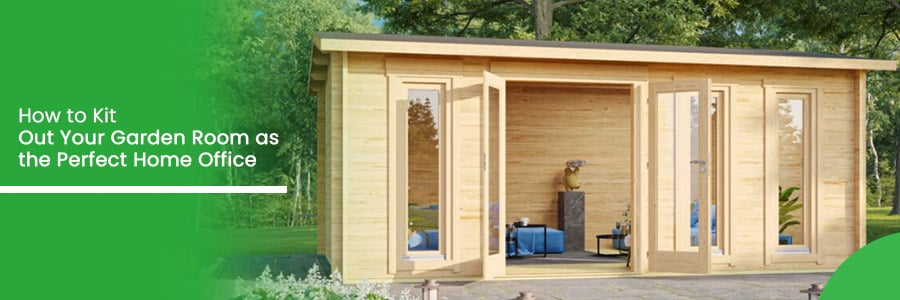
Have you found yourself working from home more often as part of your weekly routine? If so, a garden room can be the perfect solution for your work-from-home needs! With more people working from home more frequently, the popularity of garden offices and outdoor rooms dedicated to work has risen significantly. With no sign of…
Want to discuss over phone. Let us call back to you
If you need any additional info regarding any product, please fill in the below form and we will get back to you, usually the same or next working day.
Have any questions regarding some product?
If you need any additional info regarding any product, please send us your questions.