Building a Garden Shed 101: Quick DIY Guide
22.08.2020
If you are a practical and organized homeowner, you probably thought about building your own shed more than once. A garden shed is a versatile structure that reflects your taste, provides extra storage space, and makes your wife happy as she won’t trip over gardening tools and lawnmowers. Not to mention you’ll finally be able to buy that circular saw that you always wanted without worrying that it will get deteriorated outdoors.
If you’ve done some research you already know that when it comes to garden sheds, there are many different options. They come in all shapes, sizes, and designs, and regardless of how picky you are, it’s impossible not to find a garden shed that’s perfect for you.
What Are the Main Features of a Garden Shed?
We know that you’re excited to learn how to build your own garden shed, but first, we need to talk a little about its main features. A garden shed is a wooden structure that has walls, a base, and a roof. In general, garden sheds are placed in backyard spaces and outdoor gardens and are used as storage space, workshops, gardening hubs, hobby rooms, etc.
Garden sheds are versatile structures, they make great investments, and they come in many shapes and sizes. The building material can also vary, but the most durable and economical option is wood. A garden shed can have windows, electricity, and even insulation. It all depends on your resources and preferences. You can customize your shed as much as you like and you can even turn it into a guest house or a home office.
Read on to find out more about building a garden shed.
Step by Step Guide to Building Your Garden Shed/Log Cabin
Step 1 – Verify the building codes
Before you start working on your log cabin/garden shed, it would be wise to check the building requirements and restrictions of your area. Deed restrictions, property lines, and other zoning issues might affect your project. When building new things, it’s always better to be safe than sorry so the legal aspects should be a priority.
Step 2 – Take measurements
We are all a bit ambitious and eager when it comes to starting DIY projects. However, it’s essential to take some measurements and to make sure that there’s enough space in your backyard to build a shed. Calculate how the doors will open, how much space will be left, whether the shed will block the access to your property, etc.
Step 3 – Make a list
Every good project starts with a list. In this case, you’ll need to consider the type of materials that you want to use. The first element that you are going to build will be the base of the shed, so it would be best to start with the materials needed to build this part.
Step 4 – Formulate a plan
Now that you have a list and know what materials you’ll need, check out the location again. Think of how the shed will match the landscape and what changes need to be made. Maybe you need to relocate some plants or some decorations, or maybe to clear the terrain. This should be done before you start building. Important Tip: Don’t forget to buy protective gear such as gloves, rigged boots, and goggles.
Step 5 – Ask around
Nothing compares to the satisfaction you get after you do something by yourself. Asking questions and talking to people who’ve done this before won’t make the experience less rewarding, but they might prevent you from making costly mistakes. So don’t hesitate to ask people about their experience building their own sheds, they might even tell you where you can find cheaper materials.
Building the Base of the Garden Shed
As mentioned above, the first and most important thing that you have to build is the base of the shed. The whole project depends on this, so you need to focus on doing a great job. There are many materials that can be used for the garden shed base including wood (cheap, durable, and eco-friendly), gravel, cement, and even the ground itself (not recommended). Make sure you wear protective gear throughout the building process.
Cement Slab Garden Shed Base
Use a cement mixer to mix one part cement with five parts ballast. The easiest way to calculate the amount needed is by measuring the length and width and multiplying them. Then, measure the depth and multiply again. Use round figures to make the process easier and add 10% for wastage. It’s always better to make more cement mix and have some leftover than to have less.
The next step is pouring the cement starting with one corner of your framework. To ensure that the material will be distributed evenly, use a shovel or a rake to spread it manually. To even the surface, use a tamping board or a concrete roller. Excess concrete needs to be removed, so you might have to repeat the process several times until you have a perfectly even surface.
Once you have a nice, even surface, you can cover it with a polythene sheet to prevent it from developing cracks as it starts to dry. Experts recommend letting the concrete dry for about a month before you move on with the project.
Building a Garden Shed Storage Wall
Most garden sheds have a rectangular shape which means that they require two identical wall frameworks on the sides, a different one for the back, and another one for the front. The front wall will have a door opening in the middle. The other walls might have window openings.
The back framework needs to be placed first. So, go ahead and assemble the wooden framework around the edges of the previously built concrete slab. Make sure the back wall is a little lower than the front one to prevent water from pooling above the door.
Once the framework for the back wall is in place, you can start working on the frontal one. Repeat the whole process and don’t forget to leave enough space for the door. Next, place the side frameworks. Assemble the walls together with nails. It might be a bit difficult to do this on your own, so we recommend getting a helper who can hold the walls in place while you secure them in place. Last but not least, install the door. If your garden is easily accessible, you should probably choose a door with a lock.
Building the Roof of the Garden Shed
Once the base and the walls are installed, you can start working on the roof frame, which is the skeleton of your roof. Outline the shape of the roof by joining two rafters together at an angle. This will determine the roof slope. Create a bird’s mouth joint at the base of the roofing. This will allow the joists to sit nicely on top of the walls. Install pieces of blocking in-between each pair of rafters and nail the wooden blocks for more stability. Add plywood sheeting to the rafters and, again, use nails to secure them.
You’re all done. It wasn’t easy but it was worth it and the great news is that you can now get on with the fun and creative part of the project. You can decorate and equip your shed as you wish. Make sure you hire an electrician to work on the electrical system and a plumber for the piping.
If you want to skip the building part, you can always order a customized log cabin. We have a lot of different options that fit any budget and any backyard. Our most popular garden sheds are the Type C Double Shed and the Eva F Garden Workshop.
Categories:
How To
A wooden BBQ hut is much more diverse than the title may suggest. Sure, it’s brilliant for barbeques and hosting parties for friends and family, but it also offers so much more value than a couple of summer evenings each year. Here, we will take you on an exciting journey, showing you why purchasing a…
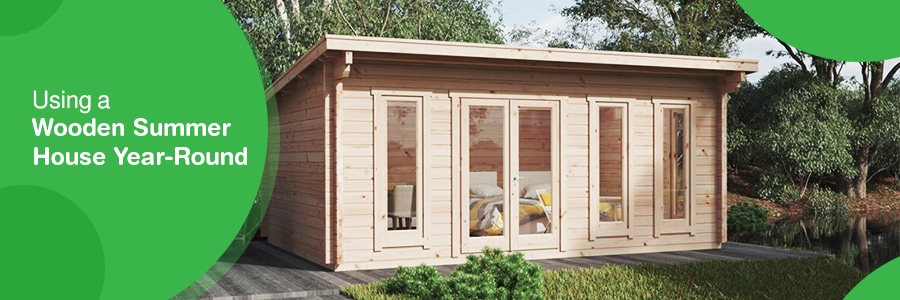
There is no better feeling than basking in sun at the bottom of your garden, in your very own garden. But those feelings feel miles away in winter as you look out of your kitchen at the summer house at the bottom of your garden that you haven’t used in months. This is the problem…
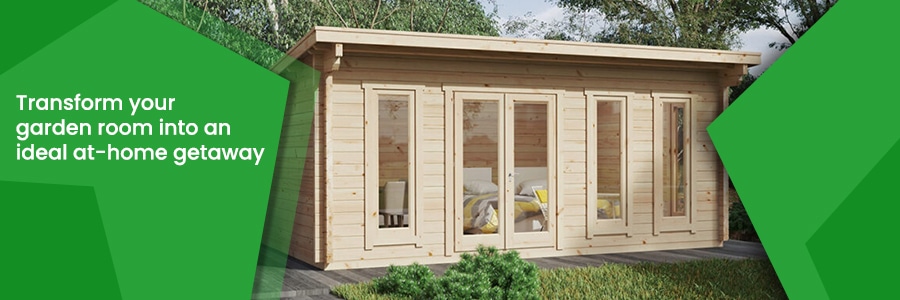
Every now and then, we all need a break from day-to-day life. It can become stressful, and busy, and sometimes it can feel like everything is sitting on top of you. In times of stress, we often look for places we can go to escape everything, recentre ourselves, and destress temporarily. Unfortunately, we don’t always…
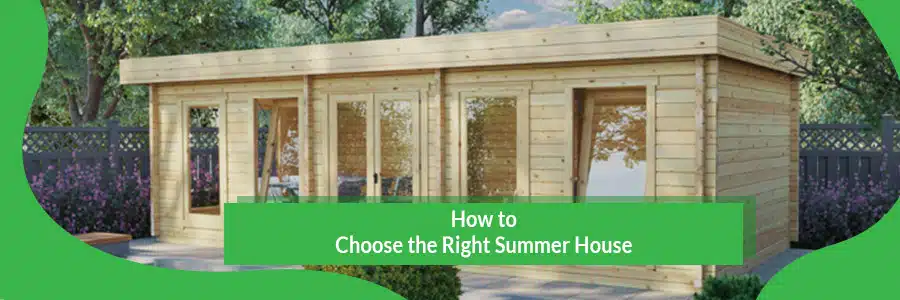
Are you considering investing in a summer house or garden building but unsure how to choose the right one for your requirements? Perhaps you have considered purchasing a summer house for some time now, but you are still unsure which type is right for you. Do you need a corner summer house? A contemporary summer…
Want to discuss over phone. Let us call back to you
If you need any additional info regarding any product, please fill in the below form and we will get back to you, usually the same or next working day.
Have any questions regarding some product?
If you need any additional info regarding any product, please send us your questions.