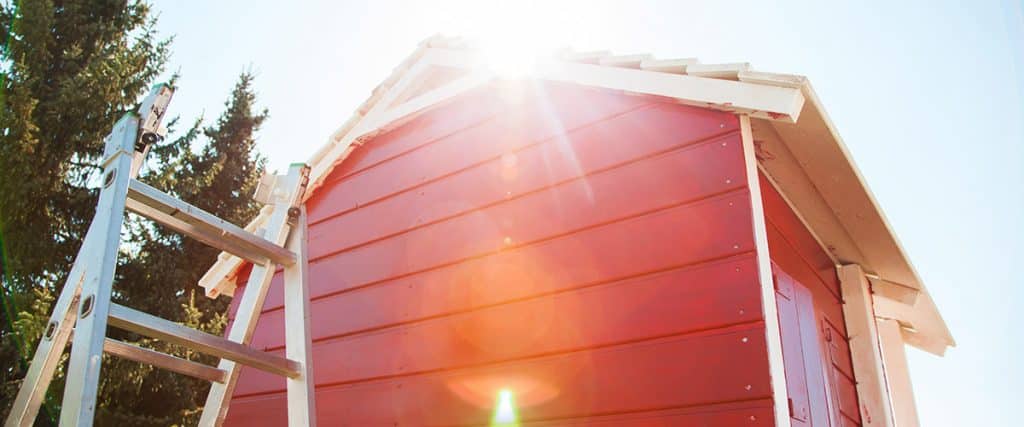
How to Paint a Wooden Garden Shed in 7 Easy Steps
29.06.2022
Painting a garden shed might look like an easy task, especially when you watch DIY videos or when you see your next-door neighbour doing it. If you don’t have a lot of experience with DIY projects, painting might seem like a straightforward job that consists of grabbing a brush, dipping it in paint, applying it and you’re done! While this might work on a fresh and smooth piece of wood, in most cases, there are several steps that you need to take before you can finally apply the paint.
Without following a few essential garden shed painting guidelines, you might end up with a sloppy paint coating. Therefore, because the goal here is to prolong the life of your wooden garden shed, it is important not to skip steps and to focus on getting the best results. A key thing to remember before you start painting your shed is the fact that wood is different to other types of building materials, so keep reading to find out what you need to do to get the job done!
Paint will surely give your garden shed a fresh new look, but paint can only cover very small imperfections. That’s why it’s very important to start your painting process by preparing the wood and making sure that all the imperfections are taken care of. During this process, you need to fix all the cracks, holes, and physical weaknesses before you apply the paint because otherwise, these problems will still be visible and might worsen over time. So let’s take a look at a few important things that you need to do to ensure your wood is smooth and ready for a fresh coat of paint.
Step 1 – Scraping the existing paint
If you are painting a new wooden garden shed, you won’t need to scrape any old paint. However, if you are working on any other type of wooded structure or even an object that has been painted before, you’re going to need to scrape the old paint off. Old paint that is not removed will affect the look of the new paint and might even compromise it completely. There are several methods to remove old paint and different tools that you can use such as a putty knife. You don’t need to worry about precision at this point, as this is just the first step of the whole preparation process. You will get to use sandpaper to smooth out the surface and remove the remaining paint later on.
Scraping can be carried out differently depending on the wood you are working with. If you are dealing with an oil-based finish, it might be best to consider using chemical strippers. For any other type of surface, you should start with scraping before you use Trisodium phosphate (TSP) to remove all the remaining paint. Regardless of what type of solution you use, the next step will be rinsing it off. The focus here is to clean the wood as much as possible before sanding it so that the next coat of paint will adhere and form a resisting barrier. In some lucky cases, you won’t need to remove the existing coat of paint if you plan on using a type of paint that will adhere to the existing one. But you might still have to use a primer.
What’s important here is to do a thorough assessment of the existing coat of paint and decide whether it needs to be removed or not.
Step 2 – Filling the wood
Once you’ve removed the loose paint, it’s time to check the surface for any holes and cracks. Needless to say, these imperfections need to be filled before you apply a fresh coating. For this step, you will need some wood putty and make sure you use a high-quality one. Next, fill all the holes and cracks with putty and be generous, you can fix the protrusions later. By using more rather than less you ensure that the fillings are perfect and that your surface won’t have any vulnerability. There are many different things that you can use as wood filling including the aforementioned wood putty but also two-part epoxy products, wood glue, wood plugs and wood dowels, glue and sawdust, etc. If you have a lot of cracks and holes to fix or if the imperfections are big, it’s best to go for the more professional options, for small imperfections, you can use what you have available.
Step 3 – Sanding the surface
When reached this step it means that you’ve successfully removed the old paint and filled all the cracks and holes. But you are now left with a surface that is not perfectly even, so naturally, you need to smooth it out before you can paint it. The best way to smooth out wood is by using sandpaper on all the surfaces that need fresh paint and that you’ve prepared. To achieve the best results, work along with the grain of the wood instead of working against it.
Step 4 – Cleaning the surface
After sanding the wood, you’ll surely have a lot of residues left, and as mentioned, paint should only be applied to clean and smooth surfaces. An excellent way to get rid of extra dust is by vacuuming the surfaces. You can also clean the wood with a damp cloth, but make sure you let the surface dry afterwards.
Step 5 – Segmenting the work
If you are painting a wooden garden shed, it means that there you will have to paint a large area and you might not want to cover everything in paint. You might also want to use different colours, so it’s best to tape the parts that you want to protect. If you are going to use a mix of colours, it’s important to apply the primer before taping.
Step 6 – Applying primer
Not sure why the wood needs primer? To achieve a uniform and clean look after painting, applying primer is an essential step. It’s really easy, so there is no reason to skip it. Apply one coat of primer and you will notice the results when you apply the paint. Sometimes, priming can make the wood grains rise and you shouldn’t be alarmed by this. If it happens, use fine sandpaper to smooth the surface again. Don’t forget to wipe off the residue before you proceed to the next step. Keep in mind that the colour of the primer is quite important as it will influence the colour of the pain. If you’re going to use dark paint on your garden shed, use a grey primer. If you wish to paint your garden shed lighter, apply a white primer.
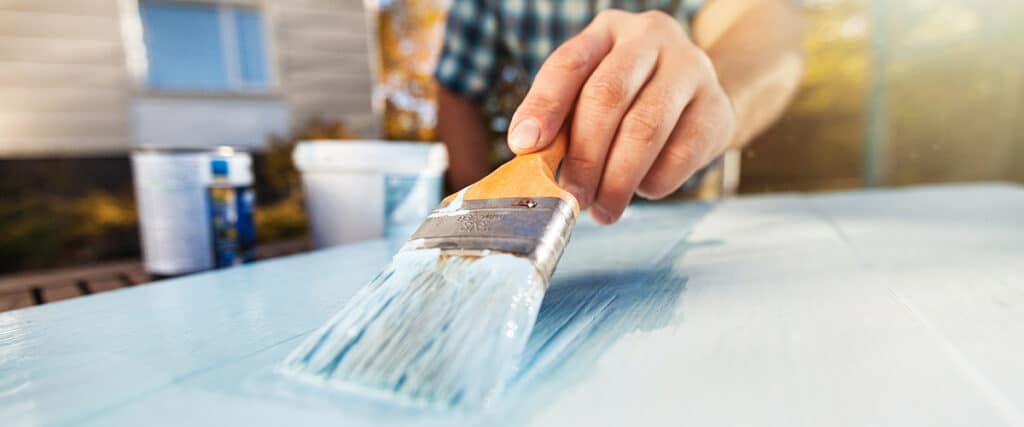
Step 7 – Painting the garden shed
We’ve finally reached the last step which also happens to be the most exciting one. You’ve surely been eager to apply paint and to see some nice results after all the prep work, and you can finally do so. Painting a new wooden shed or repainting an older one will make it more durable, weather-proof, and pest-proof. Choose a type of paint that works best for you, and take the formulation, sheen, and nuance into consideration. We recommend using high-quality brushes and rollers as they will make your job easier. And once you have everything you need, you can start painting from the top down.
Painting your wooden garden shed regularly is an important part of the maintenance work that will keep your outbuilding in top shape for many years. It is worth mentioning that the quality of the shed will also play a part in how easy the maintenance process will be over the years. For more wooden garden shed painting tips and advice, check out our blog regularly.
At Summer House 24, you will find the best sheds UK has to offer. Whether you’re looking for small garden sheds, corner garden sheds, narrow garden sheds, or spacious garden sheds, you will surely find the perfect one for your outdoor area. We are an international company that handles the whole process including the design, production, sale, and delivery of good quality garden sheds in the UK, but we also deliver to other countries. You can easily recognize our ready assembled garden sheds by their attractive and modern Hansa Garden design. If you have any questions about our wooden garden sheds, do not hesitate to contact us.
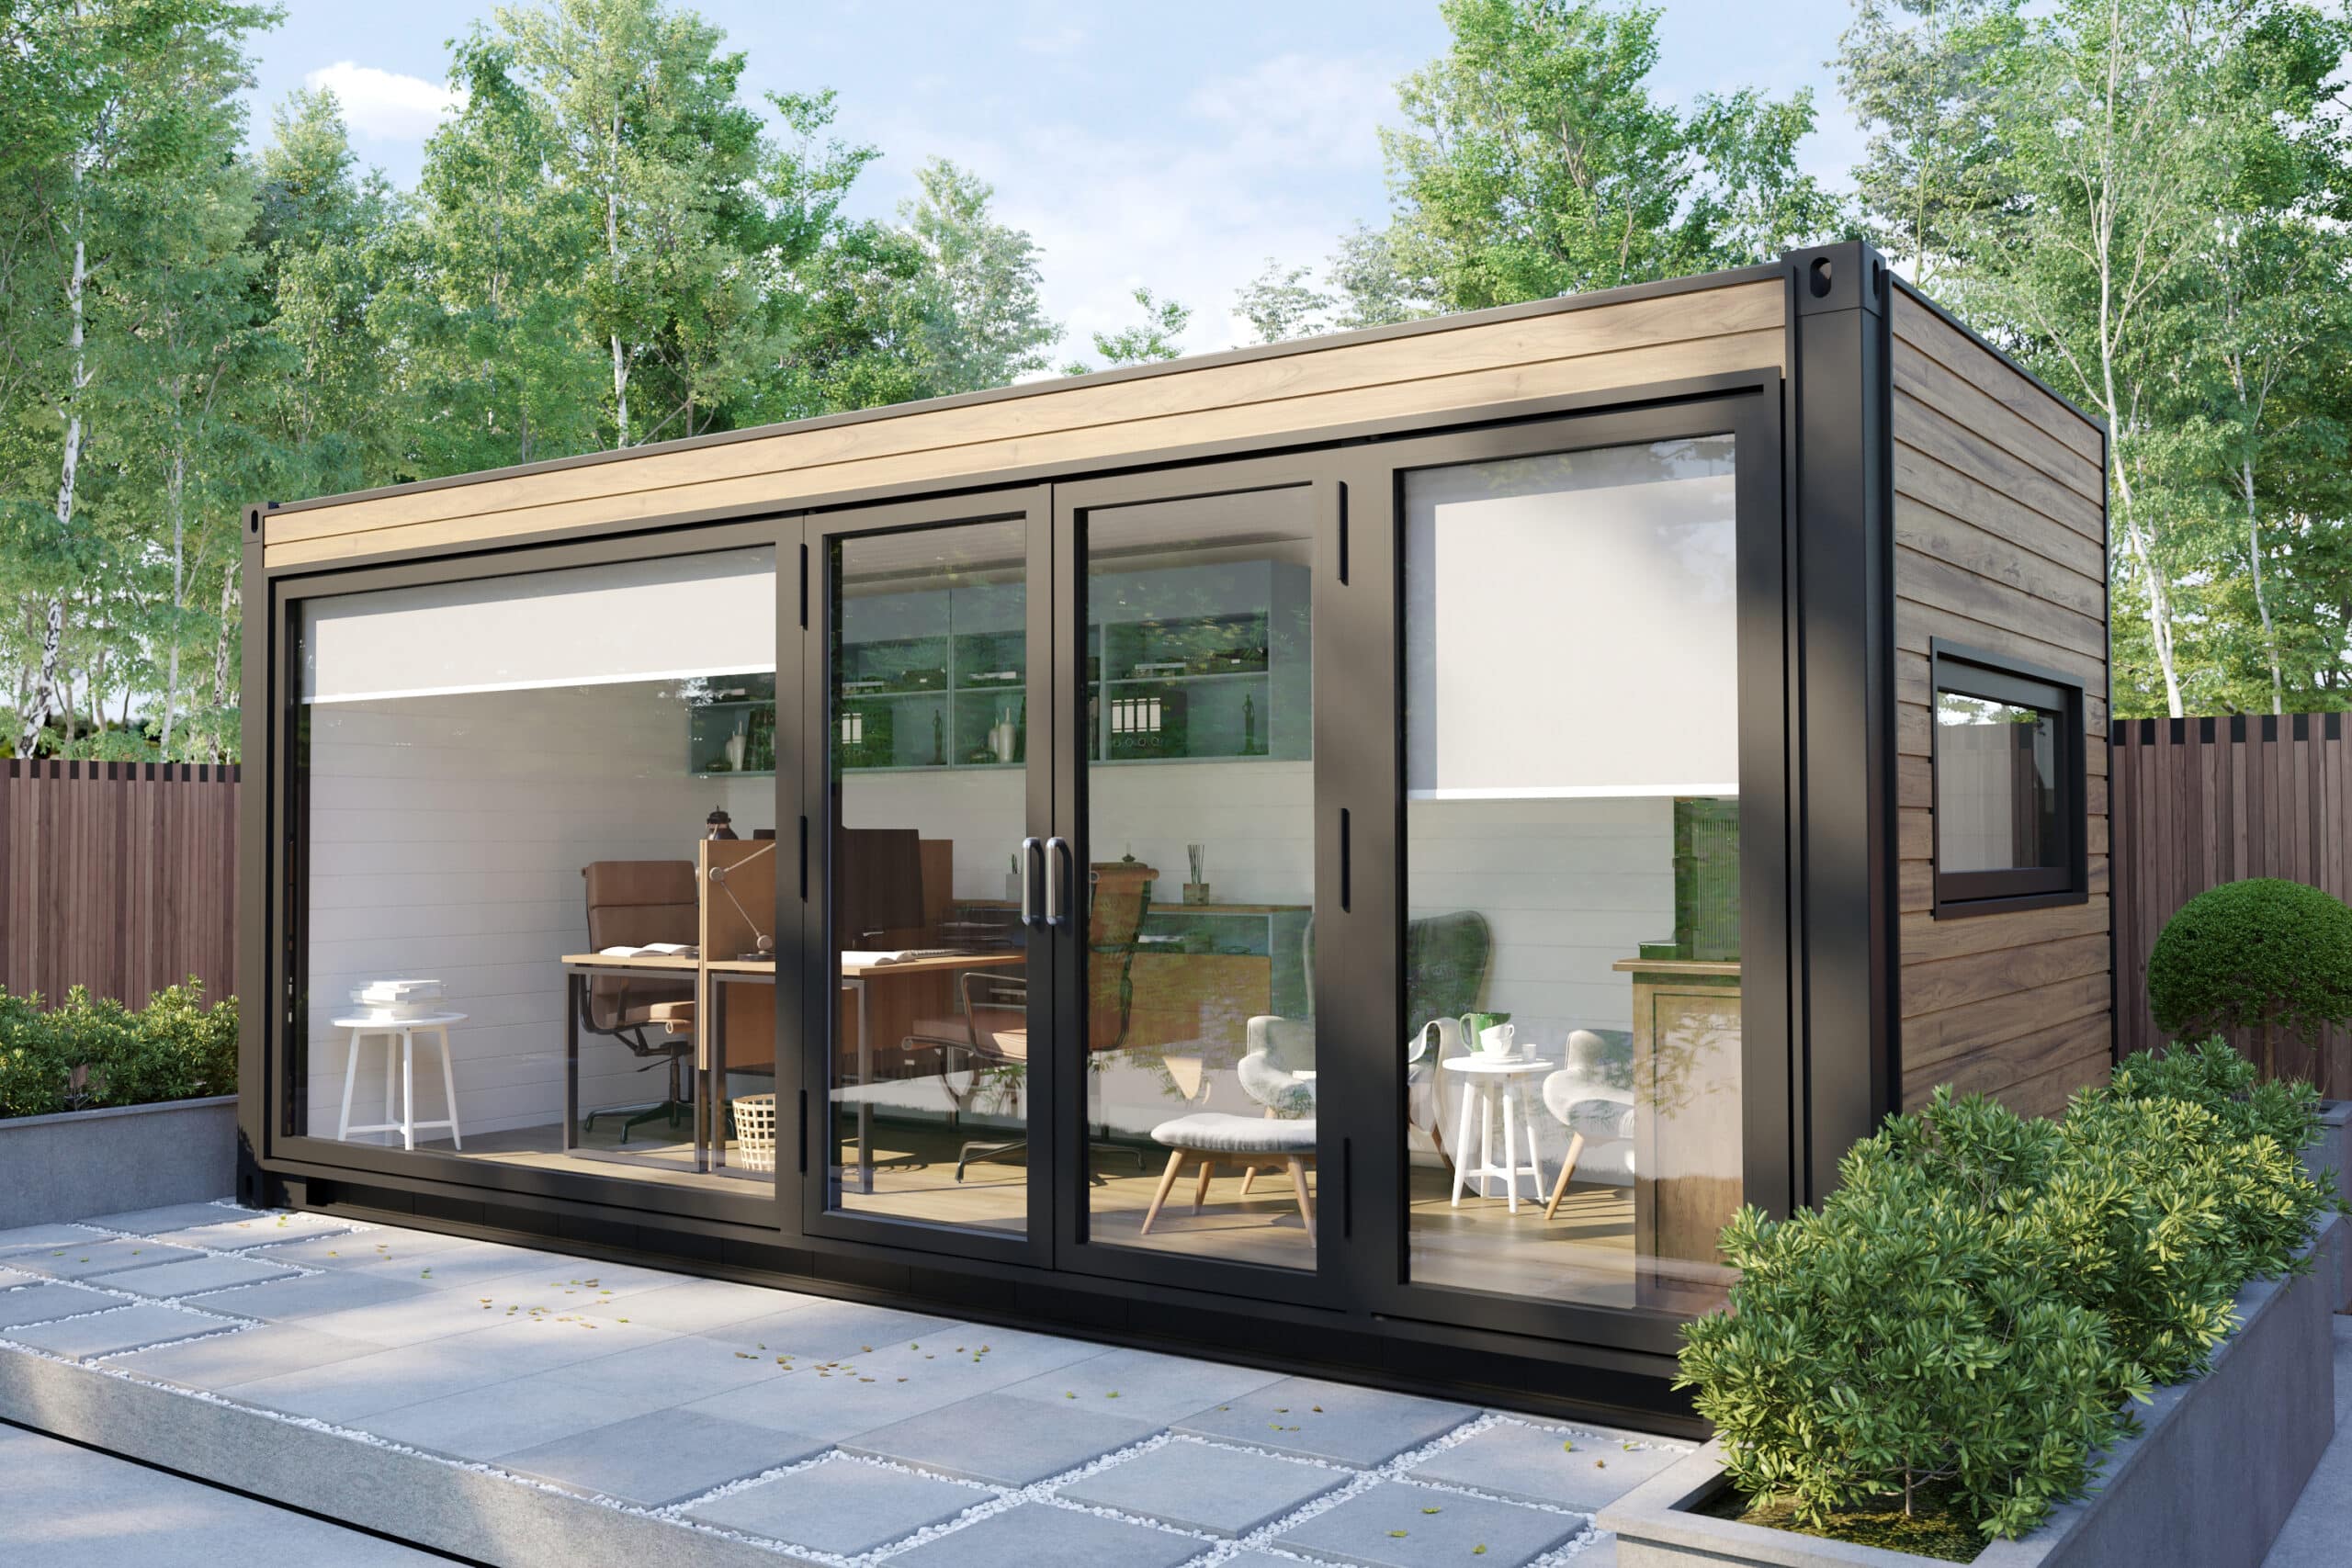
When planning a garden office in the UK, integrating both functional needs and personal style is key, especially when various types of structures are available, such as garden office pods, cabins, and insulated offices. Here’s a refined approach incorporating these elements: There are more areas to cover as per your needs but above areas are…
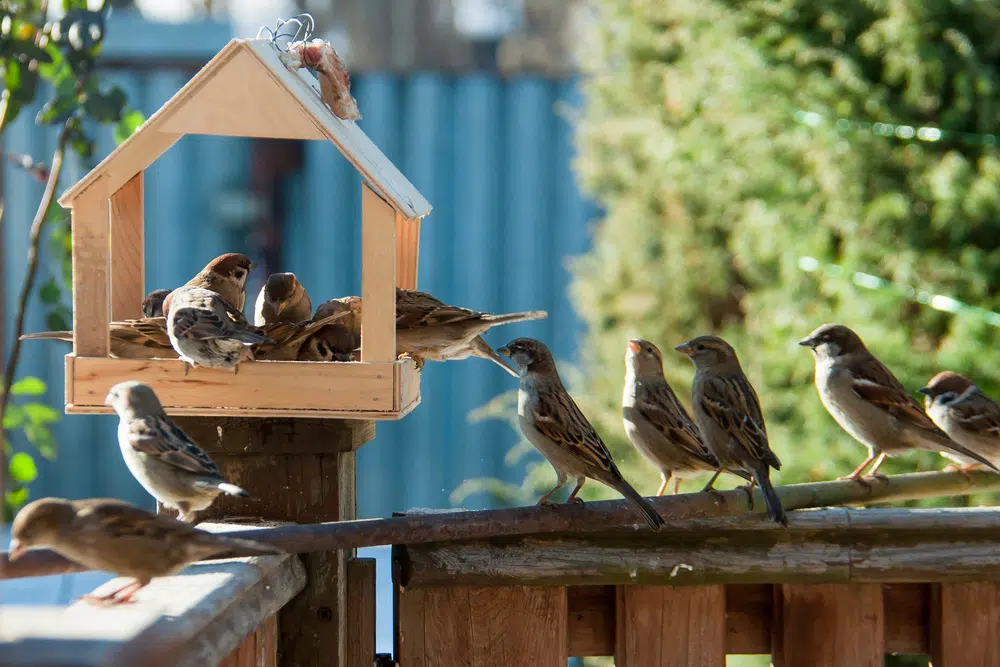
With summer fast approaching, it’s the perfect time to turn your garden around the summer house into a sanctuary for our feathered friends. Here are “10 Things You Can Do to Help Wild Birds Around Your Summer House,” packed with tips that are easy to apply in your garden to support birdlife throughout the season….
A garden room, a small outbuilding, can be quickly added to any outdoor space and used as a cozy extra bedroom. There are many different options available on the market when it comes to garden rooms, some are designed to become garden offices, hobby rooms, and art studios, and can even have multiple functions. A…

In 2024, as we celebrate the ‘Year of the Dragon’ in Chinese mythology, a year rich in symbolism representing strength, power, wisdom, nobility, good fortune, and success, it’s crucial to harness positive energies not only within our homes but also in the extensions and additional spaces nestled in our backyards. Garden rooms offer a canvas…
Want to discuss over phone. Let us call back to you
If you need any additional info regarding any product, please fill in the below form and we will get back to you, usually the same or next working day.
Have any questions regarding some product?
If you need any additional info regarding any product, please send us your questions.