How to Build Summerhouse24 Garden Room in One Day
23.10.2020
How to install 9m2 garden room with terrace. See all the assembly stages and get useful tips.
We install the cabin on a concrete pile foundation, which is a suitable base for almost all types of soil and any sized cabin, and widely used for sloped and uneven building spots. It is fairly easy to prepare and requires less concrete.
- Screw together foundation frame according to the cabin plans and place it on the piles. Using bitumen sheets or similar between the frame and concrete piles protects the wood from moisture. Measure both diagonals and make sure they are even and match the length shown on the cabin plan. Then, make sure the entire frame is leveled and the foundation frame is fully assembled as per cabin plan.
- Lay down the first wall plank row. Depending on the wall thickness and cabin type, walls may be even or slightly overhanging (up to 1 cm) from the foundation frame. If the walls overhang, make sure that they overhang equally from both sides of the cabin. First wall plank row must be screwed to the foundation frame. Remaining wall rows to be installed on each other without screws.
- Measure the width of the door hole and make sure it corresponds to cabin plans. Build the walls according to the cabin plans. Pay attention to the predrilled holes in the wall plank ends and other parts, and make sure you install them strictly as per the plan. The hole placements must match the holes of the previous plank rows so that you are able to insert metal storm braces throughout the entire wall as well as strengthening rods in some wall parts in the later stage. For placing each row properly on the previous one, use rubber mallet if necessary.
- Insert strengthening metal rods accordingly to the cabin plans
- Mount the window laths to the window frames according to the cabin plans by using appropriate screws. All screws and nails are included in the cabin kit. Never screw window laths into wall planks, because that will prevent the equal sinking of the whole cabin structure and lead to gapping between wall planks. Windows can be placed into window holes when walls have been built to half window height.
- Use H profile for connecting walls to each other. For letting the whole cabin structure to settle down, do not screw H-profile to wall planks.
- Screw together the door frame and fix the laths to the outer side. Then, insert the door frame and fix with inner laths by screwing them into the door frame.
- Insert more strengthening rods according to cabin plans
- For connecting some wall parts, we use oak-tree connecting sticks. These oak sticks are in the cabin set and inserted into the holes by using normal hammer.
- Before you insert metal stand into the terrace roof supporting post, you need to cut it into size. Leave 6-8 cm space below the post for lowering its height accordingly as the cabin settles down during the first and second year after the assembly.
- Then level the post and finally screw the post to wooden beam on the top as well as metal stand to foundation frame.
- Some wall parts are continued and fixed with metal connecting plates. These connections are shown on the cabin plan.
- Upper roof gable end components are fixed to the lower part by using screws.
- Install rafters strictly to cabin plans and pay attention to positions of connecting points.
- For connecting rafters, use metal bolts and fix them with washers and nuts. Nuts must be tightened well by using spanner.
- Widen holes in the upper rows before inserting metal rods and storm braces. These holes must be wide enough to sink a washer and deep enough to eliminate nuts and rod overhanging upwards. This will enable you to mount roof boards tightly and properly in the later stage. Rods must be fixed with washer and nut. Tighten them firmly only with hand power without fixing very hard with spanner.
- Cut off overhanging ends.
- Check all upper wall parts and terrace roof components and make sure they are leveled. If necessary, adjust.
- Start installing roof boards. Place the first board even with rafter ends. Install entire roof and check that entire course is in line. For easier control, you can place a cord or a string parallel to eaves line. Fix each roof board with one nail per each rafter beneath. Last roof board must be cut into size.
- Install floor boards similar to roof boards. For hiding screws / nails we recommend to use one screw / nail per board into each plank, by fixing them diagonally into the foundation planks from the side groove of a floor board. Then the next board will cover the nail / screw head of the previous row. Avoid stepping on untreated floor boards with shoes to avoid footprints. Removal of footprints from untreated wood is very time consuming.
- Cut the last board into size and install similar to the last roof board.
- Install baseboards to finish the floor.
- Install terrace boards by leaving approximately 5 mm space between the boards. Any 5 mm thick item between boards when screwing next terrace board is good to use. This ensures an easy installation with even spacing between terrace boards. Fix each terrace board with two screws per each foundation plank beneath.
- Last terrace board must be cut into size, if necessary, and cut out the space for the stand of the terrace post for mounting the board properly.
- Install eave board reinforcement laths, cut into size the last lath, if necessary. Then install eave boards. Use corresponding screws from the cabin kit.
- Now we cover the roof with Icopal roofing shingles, which we offer as an optional extra in 5 different colors to all apex roof cabins. First install one row of eave plates. Remove the plastic film from the sheet and mount lower edge of the plates with overhang the roof and eave boards by 1,5-2 cm for protecting roof boards from rain water. Place each sheet tightly next to previous one.
- When the eave plates row has been installed, mount roofing shingles and finally roof ridge plates. Remove the protective plastic film from the shingle. Attach each shingle with 4 nails. Cover the entire roof and install ridge plates. Very detailed roofing material installation guide is available on our website.
- Mount the gable boards by using screws, then place them to the gable ends and fix with screws to rafter ends.
- Install rain strips above the windows and doors by leaving 3 cm gap for cabin settling.
- Hang up door sheets
- Drill holes for left door sheet latches.
- Mount locks, door and windows handles.
Now the Nora D garden house with veranda has been installed. We recommend that you treat the cabin as well as doors and windows with wood preserving oil or paint from the outside and inside right after the installation has been completed. Our professional team completed the entire installation within a day. Self-assembly should be achievable within three days.
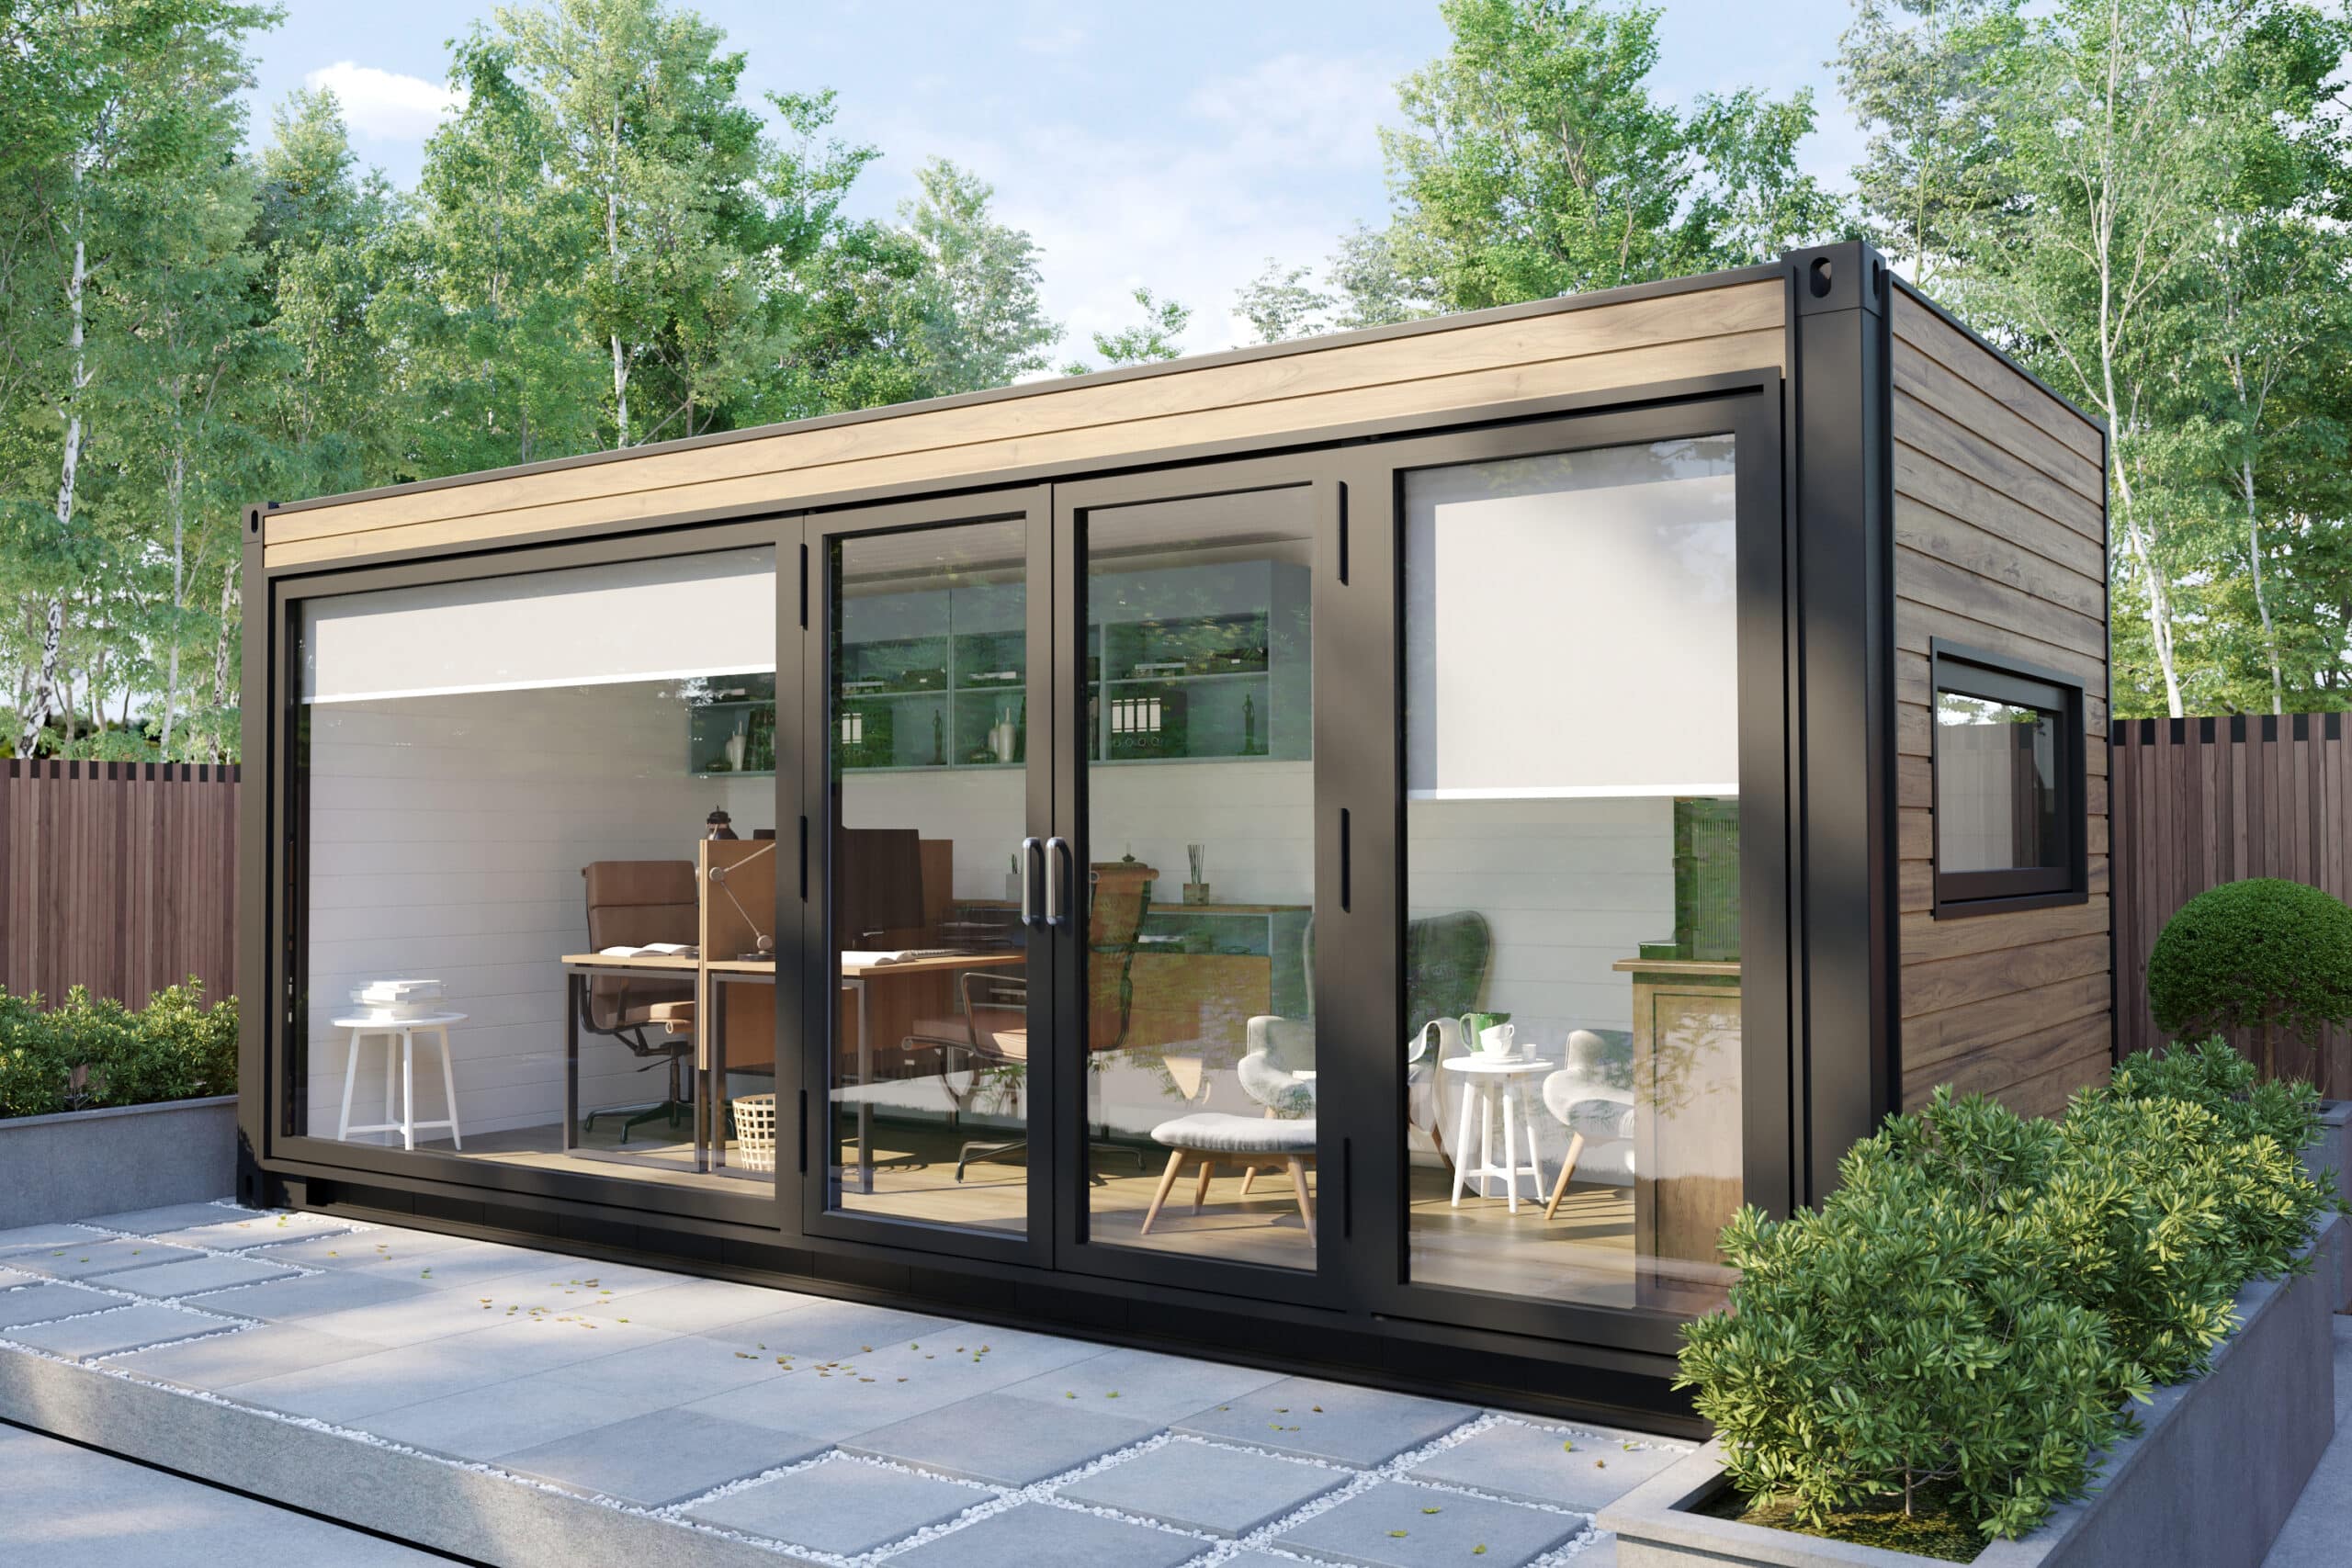
When planning a garden office in the UK, integrating both functional needs and personal style is key, especially when various types of structures are available, such as garden office pods, cabins, and insulated offices. Here’s a refined approach incorporating these elements: There are more areas to cover as per your needs but above areas are…
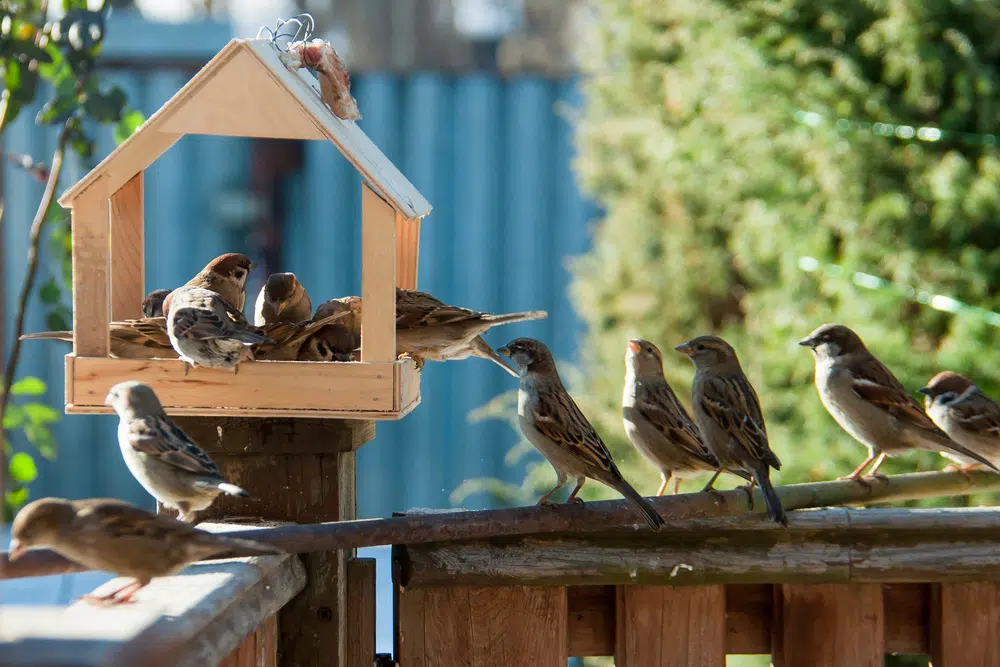
With summer fast approaching, it’s the perfect time to turn your garden around the summer house into a sanctuary for our feathered friends. Here are “10 Things You Can Do to Help Wild Birds Around Your Summer House,” packed with tips that are easy to apply in your garden to support birdlife throughout the season….
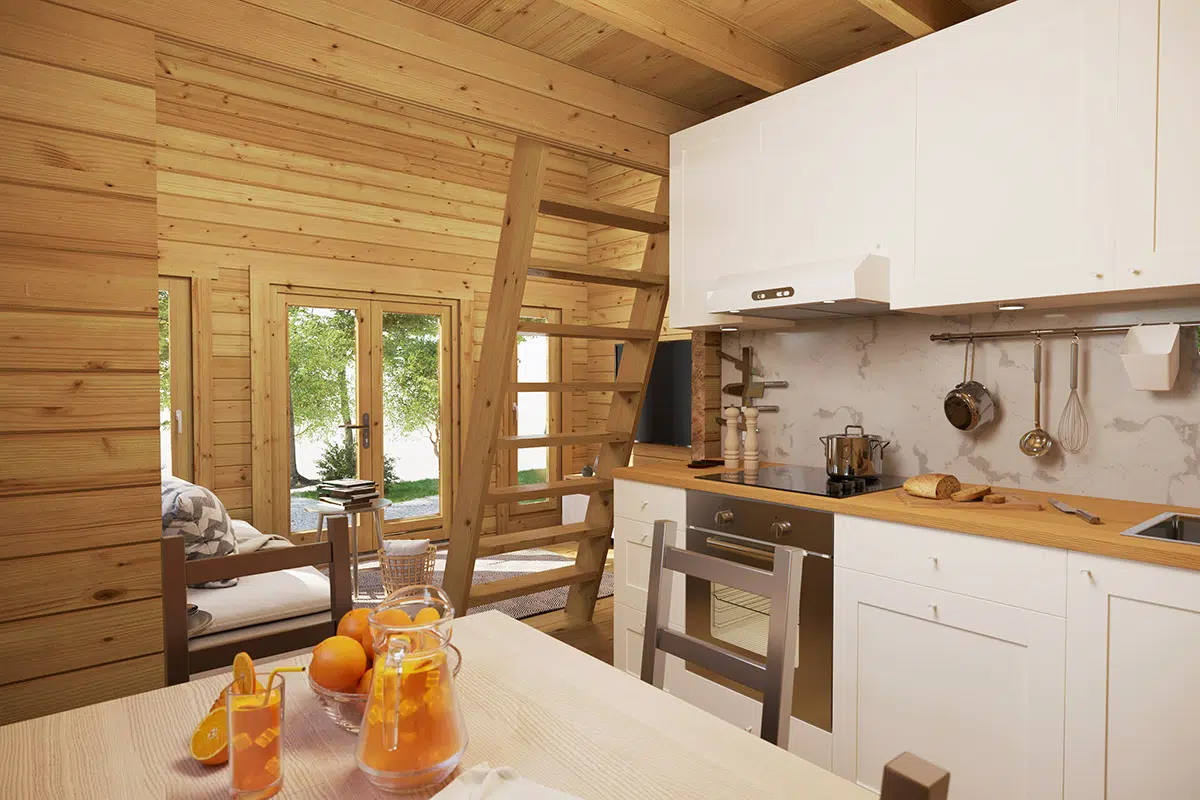
A garden room, a small outbuilding, can be quickly added to any outdoor space and used as a cozy extra bedroom. There are many different options available on the market when it comes to garden rooms, some are designed to become garden offices, hobby rooms, and art studios, and can even have multiple functions. A…

In 2024, as we celebrate the ‘Year of the Dragon’ in Chinese mythology, a year rich in symbolism representing strength, power, wisdom, nobility, good fortune, and success, it’s crucial to harness positive energies not only within our homes but also in the extensions and additional spaces nestled in our backyards. Garden rooms offer a canvas…
Want to discuss over phone. Let us call back to you
If you need any additional info regarding any product, please fill in the below form and we will get back to you, usually the same or next working day.
Have any questions regarding some product?
If you need any additional info regarding any product, please send us your questions.