Complete Guide to Popular Base Types for Garden Buildings
12.07.2017
Creating a sturdy foundation is crucial for any garden building, whether it’s a summer house, shed, or other outdoor structure. The right foundation not only ensures stability and longevity but also enhances the overall appearance and functionality of your garden building. In this blog, we’ll explore various foundation types to help you choose the best one based on your garden surface, cabin size, and budget. Remember, for detailed dimensional plans tailored to your specific needs, email us at info@summerhouse24.co.uk.
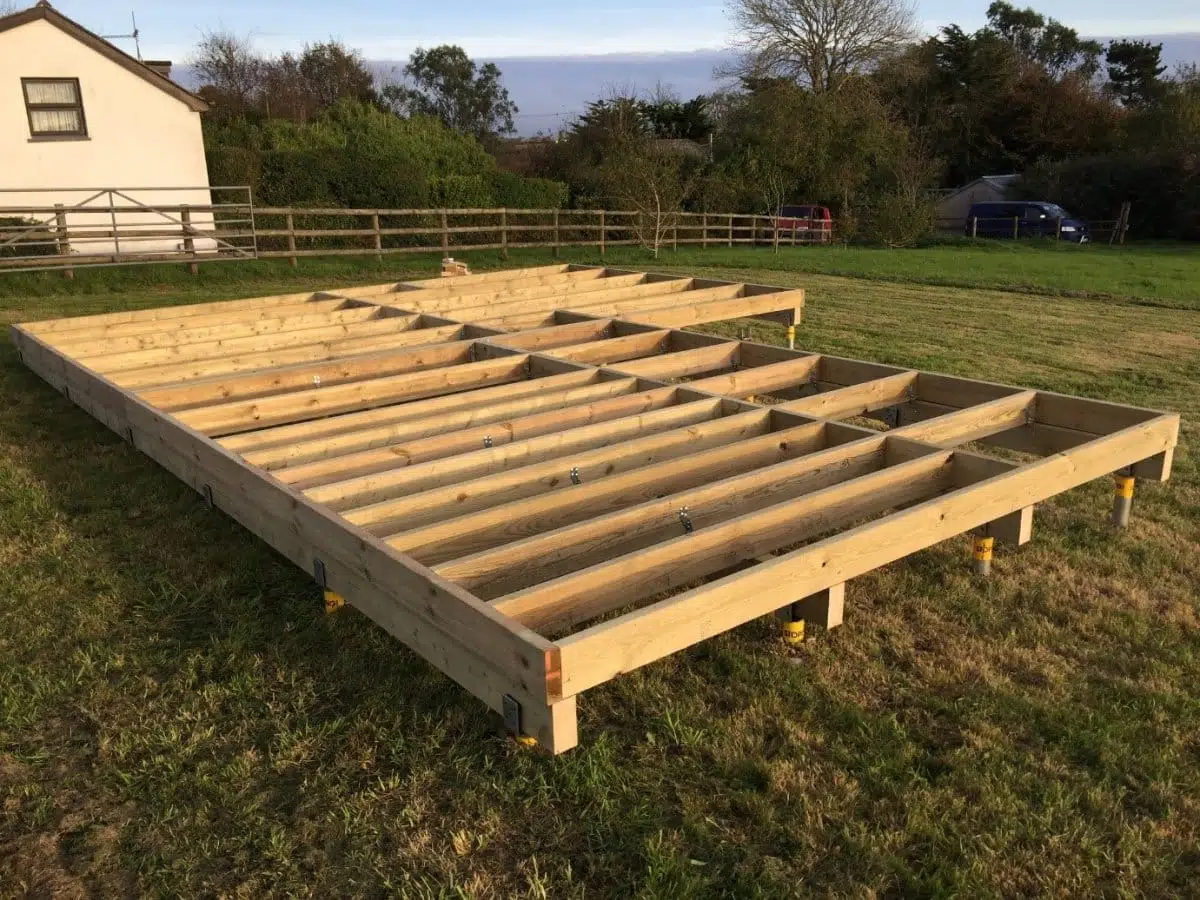
A) Ground Screw Base
Ground screws offer a fantastic way to give your garden building a safe and level foundation. Ground screws take a fraction of the time to install – and with no setting of concrete, you can get building immediately!
Installation All Year- Ground screw foundations can be set up at any time of the year, in any weather.
Less Mess- Minimum impact to surrounding areas and quick assembly
No More Concrete- Avoid the heavy bags of concrete, hard labour, disruption to land and machinery hire
There are many nationwide ground screw companies, they will normally assess your ground and provide a recommendation based on your current ground type. You will also need the ground screw company to install a wooden foundation similar to the picture above, this will help create a level footing for our foundation beams. It is important when choosing a ground screw base that you consider the cabin foundation beam layout to ensure sufficient support, you can request these from info@summerhouse24.co.uk
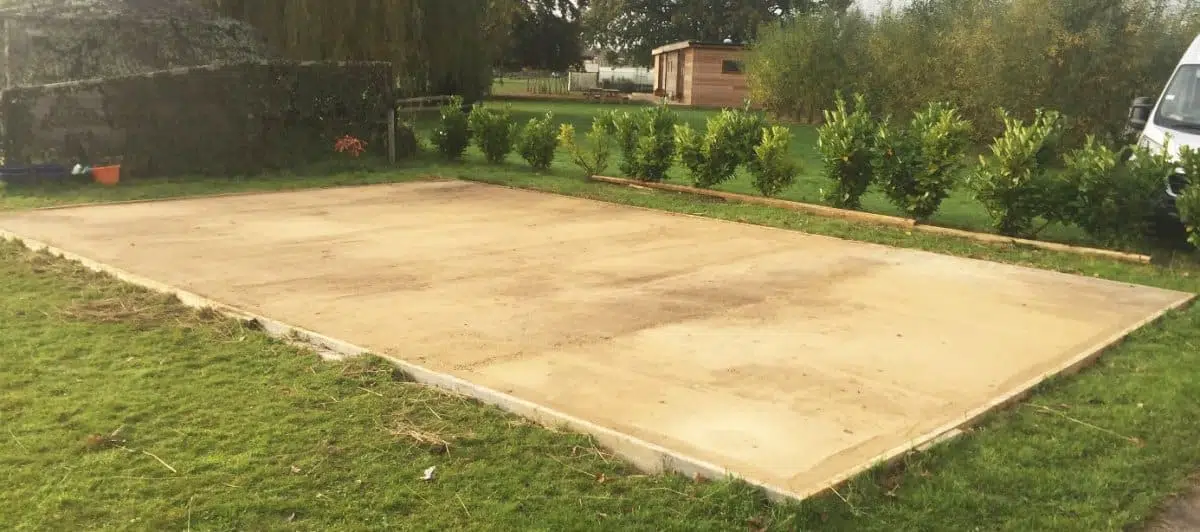
B) Concrete Slab Base
Whether you are building a small storage shed, 4 x 5m garden room or very large 5 x 10m office building, you can’t go wrong with a concrete base. It is the most durable and solid foundation but like with all the other good things in life, a concrete foundation is one of the most expensive bases to build and involves more working!
How to prepare a concrete base?
If you are building near a fence, trees, wall, or similar, leave at least a meter provision around the cabin for roof overhangs, convenient installation, and maintenance. Mark the area and excavate approximately 20cm depth according to your cabin plans. Add 5 cm to all sides for wooden boxing that you will install later.
Now infill with 15cm of granular subbase or gravel. Level with a garden rake and compact it by using a roller or tamper.
The next step is to build a wooden frame or shuttering within which to pour the concrete. Support the frame from the outside by knocking into the ground some posts along the outside edge of the timber. Install the wooden boxing so that the top of the concrete base will be 4-5cm above the ground level. This will result in water running off rather than pooling around the base of the cabin. The inner area of the wooden boxing must be in strict compliance with your cabin plan and well-leveled. Measure up all four sides and compare diagonals, they must be an even length. Level the boxing by using a spirit level.
Now cover the whole base surface with damp proof membrane. This will protect the cabin from moisture.
For cabins, greater than 10m2 we recommend using a steel reinforcement mesh (steel bar). This will significantly add strength and crack resistance. Steel bars should be lifted to the center height of the slab.
The next stage of building a concrete base is pouring the concrete into the shuttering. You can either mix your concrete or get a ready-mixed supply in. You will need a wheelbarrow, shovel, a long piece of wood with a straight edge, and one extra pair of hands. For mixing your own you will also need a cement mixer.
Start pouring from one side and work towards to other side. Bring concrete by using a wheelbarrow, pour down evenly and level by using a shovel and a long piece of wood. Hardening will take 2-3 hours on a warm day and 4 hours when it is cooler. Pull out supporting posts and knock off wooden boxing around the base. Final hardening will take 3-4 days before the assembly can start.
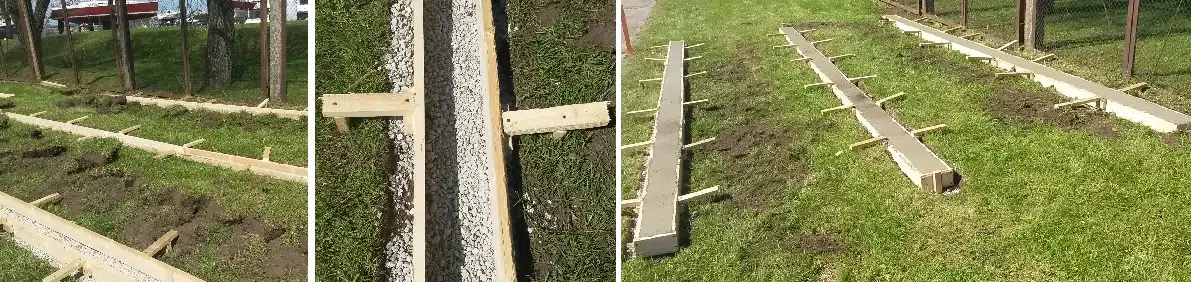
C) Strip Foundations
Strip foundations are an easier, lighter, and less expensive alternative to a concrete slab. Fits to almost any size garden building if the ground is not sloped. It is easy to remove strips if you buy a new garden room in the future and the old one needs to be knocked down and a new base built. Concrete strips are firm, strong, and stable.
How to prepare a strip foundation?
Start with marking down strips by using your cabin’s foundation plan. Strips must be perpendicular to the internal foundation planks of the cabin with up to 90-100cm distance between the strips to ensure that foundation planks and finally floorboards are firm and sturdy enough without bending.
Now excavate 15-20 cm deep and 15cm wide strips in compliance with your cabin’s foundation plan. Infill 10-15cm granular subbase or gravel. Build wooden boxing approximately 5 cm above the ground, which will result in the top of the strips being the same distance from the ground ensuring good ventilation beneath the cabin thus keeping the cabin moisture-free. Support wooden boxing from the outside by tapping posts into the ground and nailing them to boxing. This will strengthen the whole wooden shuttering to handle concrete pressure while hardening.
For extra strength, we recommend using steel reinforcement mesh inside the strips. Before you pour concrete, lift the mesh 4-5 cm from the bottom, so that it is height-wise in the center of the strip.
Pour concrete into the wooden boxes. Since strip foundations require several times less concrete compared to a full concrete slab, and therefore mixing your own concrete should be an easily achievable task, or you can get a ready mixed supply in. You need a cement mixer, a wheelbarrow for taking concrete to the building spot, a shovel, and a 20-25cm long piece of wood with a straight edge.
Start pouring concrete from one end of the box working towards the other side. Pour down concrete and level by using a shovel and a long piece of wood. Hardening will take a few hours on a warm day and 4-5 hours when it is cooler.
When strips have been laid, clean the ground between the strips. Remove approximately 5 cm of ground, and cover the surface with damp proof membrane, geotextile or similar. Finally fill in gravel, sand or subbase granular. This will keep grass away of growing into the cabin which would lead to decay and rotting.
Pull out supporting posts and knock off wooden boxing around the base. Final hardening will take 2-3 days before you can start the cabin’s installation.
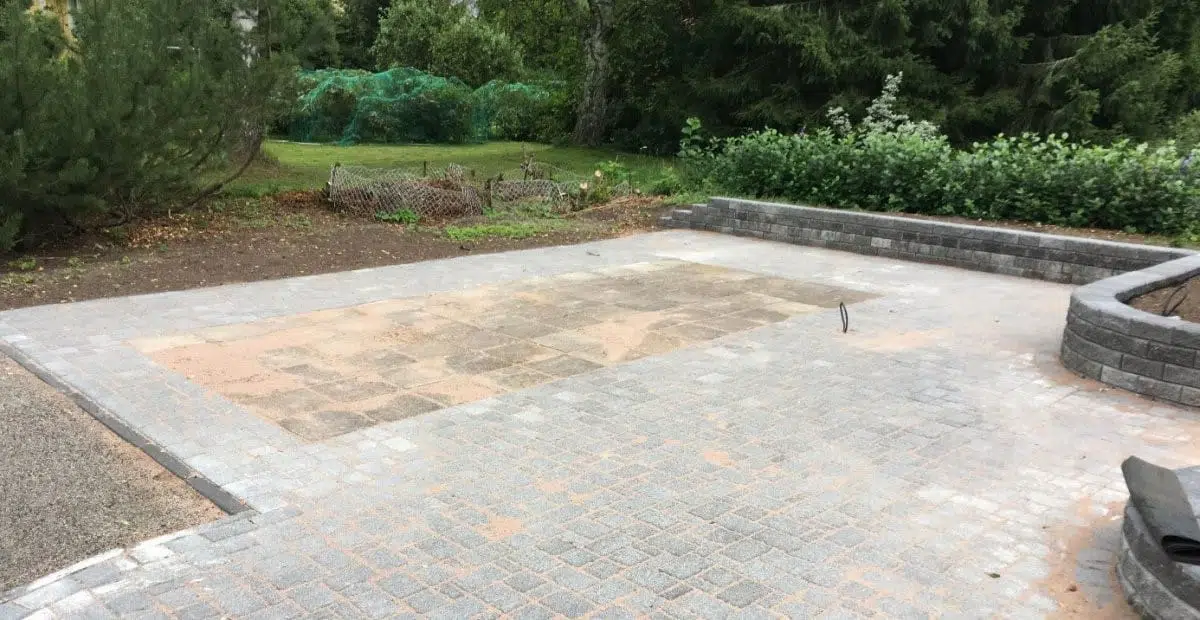
D) Paving slabs
A paving slab base is a good base for small and medium-sized garden buildings. It is one of the easiest bases to build, relatively cheap, and does not involve concrete work. On the other hand, it looks nice, it is easy to install a cabin on paving slabs and it is easy to remove or extend in the future should you want to build a larger cabin.
How to lay a paving slab base?
Excavate a 15-18cm deep hole according to your foundation plan and you may leave 10-15 cm extra beyond the boundaries of the cabin to allow for an extra area of dry ground around the building. Cover the surface with a damp-proof membrane or similar.
Lay down the subbase of 15cm of gravel or MOT 1 granules. Even and level the subbase by using a garden rake and compact it by using a roller or tamper.
Now lay down 3cm of sand, even with a shovel and rake but don’t compact.
Start placing down paving slabs. Leave 3mm distance between the slabs, and push and tap them to place and level.
Finally infill the gaps between the slabs with sand. Sand in the gaps must be well compacted, therefore push the sand tightly into the gaps.
E) Adjustable Riser Pedestal or Breeze Blocks on to gravel
If you are looking for a firm and durable base for a shed or garden room then this option comes with a very reasonable price. The adjustable riser pedestal is superb if you already have hard standing surface that needs leveling.
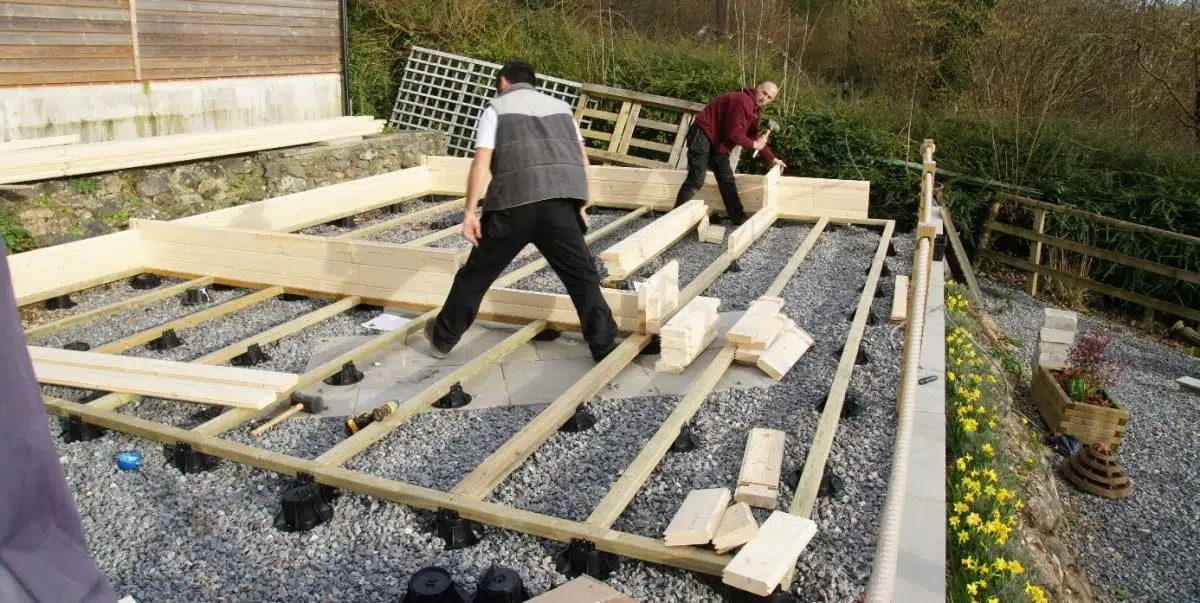
How to prepare a pedestal foundation?
First, count the number of risers you need for your cabin. For this purpose, use the cabin’s foundation frame plan. The price per riser is around £5. Alternatively, you can use breeze blocks on gravel.
Dig out 20cm of ground and leave 10Creating a sturdy foundation is crucial for any garden building, whether it’s a summer house, shed, or other outdoor structure. The right foundation not only ensures stability and longevity but also enhances the overall appearance and functionality of your garden building. In this blog, we’ll explore various foundation types to help you choose the best one based on your garden surface, cabin size, and budget. Remember, for detailed dimensional plans tailored to your specific needs, email us at info@summerhouse24.co.uk.cm extra beyond the boundaries of the cabin to allow for an extra area of dry ground around the outer surface.
Build a barrier by the inner sides for the excavated area by using wooden planks. This will help you when laying gravel and when levelled keep the gravel base in place.
Cover the bottom with a membrane to avoid grass growing through the base beneath the cabin. Fill the hole with MOT 1 subbase granular or gravel and level with a garden rake. You can then compact the ground to ensure there is no movement over time.
Now place the riser pedestals or breezed blocks according to the foundation plan. We recommend keeping the distance between the risers within 50-60cm. Support all foundation planks, including all outer and inner planks.
First screw the full foundation frame structure together accordingly to your cabin plan, lift it on the risers, level by adjusting the height of the risers and screw the planks to the risers.
When using breeze blocks, first place the blocks, then screw together the whole foundation frame, then level and finally screw the outer planks to the blocks.
Categories:
Blog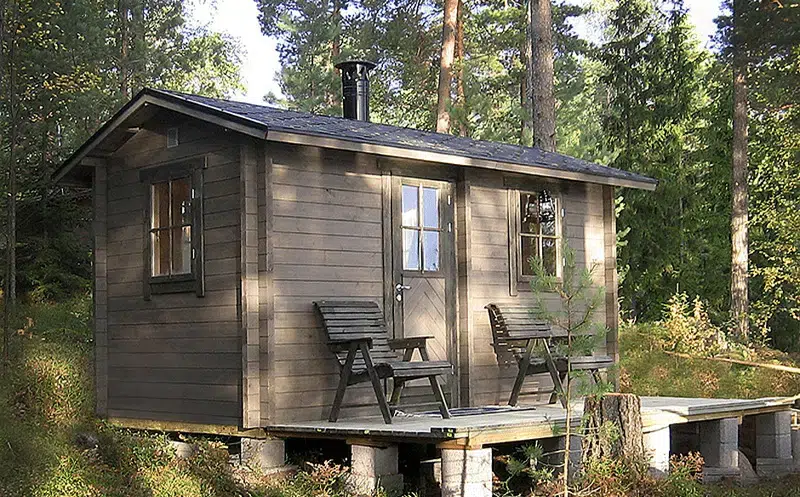
At Summer House 24 our guide on cleaning wooden sheds, both old and new, focuses on enhancing functionality, safety, and aesthetics. We walk you through comprehensive shed inspection, damage and condition assessments, tips on wood decay and structural integrity, general wear and tear check,s roof and foundation inspection, moisture and leak detection, and pest control methods…
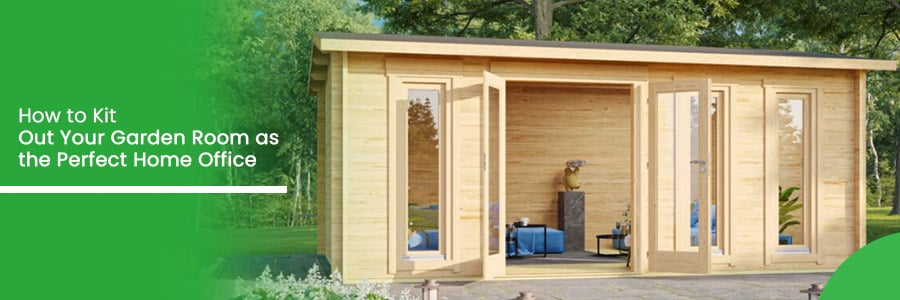
Have you found yourself working from home more often as part of your weekly routine? If so, a garden room can be the perfect solution for your work-from-home needs! With more people working from home more frequently, the popularity of garden offices and outdoor rooms dedicated to work has risen significantly. With no sign of…
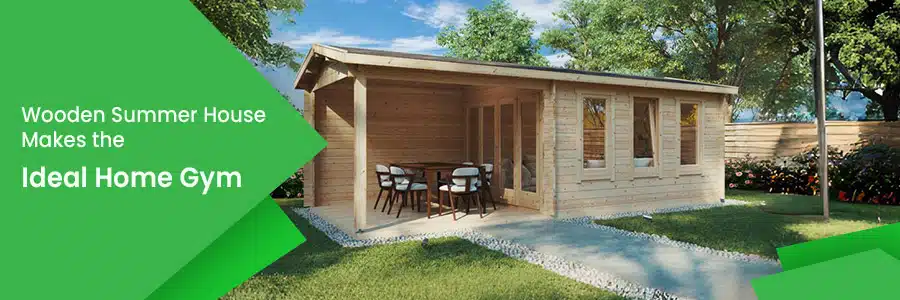
Are you considering turning your wooden summer house into the perfect home gym? Perhaps you already have a garden room you want to convert into a home gym, and you want some advice on what to do. Or maybe you are thinking about buying a wooden summer house to use as a home gym. Whatever…
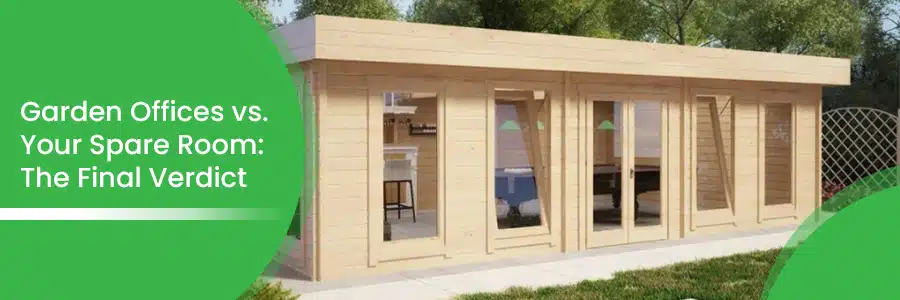
It’s a debate that has gained significant traction in recent years. With more people working from home than ever before, the big question that is often asked is what the best home setup is for work life. In 2019, only 4.7% of us worked from home, but by January this year, 85% of people now…
Want to discuss over phone. Let us call back to you
If you need any additional info regarding any product, please fill in the below form and we will get back to you, usually the same or next working day.
Have any questions regarding some product?
If you need any additional info regarding any product, please send us your questions.