Quick Guide to Garden House Insulation and Winter-proofing
11.11.2020
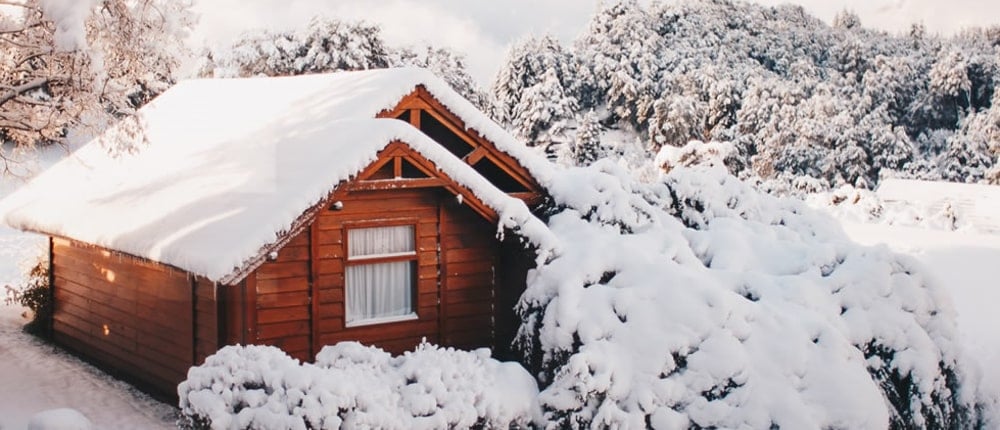
Garden houses are generally marketed as summer houses, but that doesn’t mean that you can’t use them all year round. If you’re currently thinking of investing in a garden house, but are worried about the cold winter months, we have great news! These versatile structures can be ‘winter-proofed’ and transformed into cozy spaces for work, leisure, creativity, and for pretty much anything you can think of.
Working in a space that’s not properly insulated will most likely be a bit difficult and uncomfortable. So, if you’re planning on using your garden office this winter, you should first consider equipping it with insulation. Read on to find out how to keep your log cabin warm.
How to Make Your Summer House Warmer in Winter
If you haven’t bought a summer house yet and you want to do so in the near future, you need to consider the following aspects:
Step 1 – Choosing the Right Location
When it comes to installing a log cabin, location is key. Before you start building it, make sure you choose the best spot in your garden. Ideally, the garden room should get some shade during the summer, and at least a few hours of sun during the winter. A lot of people choose to position the log cabin so that the windows face south. Trees, hedges, trellises, and walls can protect the log cabin from cold winds, so it’s worth taking them into account.
Another aspect worth considering is the layout of your garden or backyard. Are there any places in your garden that tend to become damp or muddy? If there are, it would probably be best to have a raised deck installed, to pave them, or to avoid having to walk across them several times a day.
Step 2 – Wall Thickness
As you already know, summer houses are made of logs which can have different thicknesses. Most log cabins on the market have between 19 mm and 28 mm walls. These structures are more affordable, but it’s worth mentioning that they are more suitable for warm climates and spring/summer use. If you plan on using your log cabin as storage space, you don’t have to worry about the wall thickness.
However, if you want to use your log cabin as an extra bedroom, home office, game room, sauna room, granny annex, etc. you should purchase one that’s equipped with 40 mm to 92 mm walls. Our beautiful and practical log cabins are made from slow-grown Nordic spruce, which is a dense-type of wood that provides more insulation than other materials.
As winter approaches, more and more customers ask us what materials they should use to insulate the walls of their garden rooms. There are many articles and DIY forums that recommend using foil roll, plasterboard, and even bubble wrap to line the walls. However, we don’t recommend using these materials as some of them can be flammable and put you and your loved ones at risk. If you choose a log cabin with thick walls, you should avoid using unsafe materials for insulation. Wood is a natural insulator that tends to react to dampness by expanding and installing panels can prevent this from happening. It’s best to let the logs do their thing and to opt for our roof and floor insulation kits, which are easy-to-install and very effective.
Step 3 – Roof Insulation
If you’ve decided to use the wooden summer house throughout the year, you need to consider adding roof insulation. This type of insulation is very cost-effective and you’ll notice that your heating costs will be reduced immediately. It’s best to equip your log cabin with roof insulation during the initial installation.
We offer roof insulation kits that consist of 12mm OSB boards and 25mm insulation boards. They are quite easy-to-install. The first step is to place the insulation boards atop the roof boards as tightly as possible. The second step is to place the OSB boards atop the previously installed insulation boards and fasten them with screws. The third and last step consists of covering the roof with shingles, roofing felt, or other similar materials.
If you already have a log cabin and you wish to add insulation you can install it in between the roof purlins or lining the entire roof area, including the purlins, with insulation boards. The downside here is that the room will look less spacious and the result might not be very attractive.
Step 4– Floor Insulation
As we mentioned above, it’s best to install extra insulation while you’re building the garden house. We recommend checking the box for Floor & Roof Insulation Kit when purchasing one of our log cabins. The floor insulation kits that we offer consist of 25mm insulation boards. To ensure that the boards are on the same level and to fix them in place we recommend using screws or laths. The installation process usually takes 4-5 hours and once the log cabin has been equipped with insulation you’ll be able to use it year-round without worrying about cold weather.
Step 5 – The Final Touches
Your garden office is now equipped with a roof and floor insulation. All that’s left is adding some pieces of furniture and other useful accessories that will reduce draughts and heat loss. Rugs and carpets are extremely effective and people have been using them for thousands of years. They are affordable, cozy, and you’ve got plenty of options in terms of design, color, material, and so on. The most sought-after rugs are those made of wool as they are comfortable, durable, ergonomic, and non-allergenic, and less flammable than synthetic rugs.
You should also consider purchasing a portable heater if you don’t have other heating systems installed.
Heating Options for Summer Houses and Log Cabins
Once the thickness of the log cabin’s walls has been considered and roof and floor insulation has been installed, the next step is analyzing your heating options. There are several summer house heating options available on the market and each one has its advantages and disadvantages, so make sure you do some extra research before you choose one.
Electric
If you plan on using electrical power as your main energy source, things are pretty straightforward. All you need is a few electrical sockets. The best thing about electricity is that you don’t have to worry about smoke, fuel, fire hazards, or safety precautions. Here are some of the most popular and effective electrical heating options:
- Convection Heaters
- Electric Radiator
- Electric Oil-Filled Radiator
- Infrared Heaters
- Forced Air Systems
- Electric Fan Heaters
- Electric Fireplaces
- Radiant Heated Floors
Other Options
Although electric heaters are very convenient and easy-to-use, non-electric heating systems can be a more affordable option. If your log cabin is not equipped with a bathroom and you don’t have to prevent your piping system from freezing, a wood-burning stove might be a great option. Stoves can be a bit pricey and more difficult to install than electric heaters, but their running costs are substantially lower. They will also make the garden room cozier and more inviting.
You can also consider installing solar panels on the roof as they are an environmentally-friendly and cost-effective option. In the long run, solar panels will reduce your electricity bills but they can be quite expensive at first. They are also weather-dependent, so if winters are rough, you might need a backup plan.
This is it for now! Hope we didn’t miss anything. If you have any additional questions about our products, how to winter-proof log cabins, and what heating systems work best, do not hesitate to contact us. We’re happy to help!
Categories:
Blog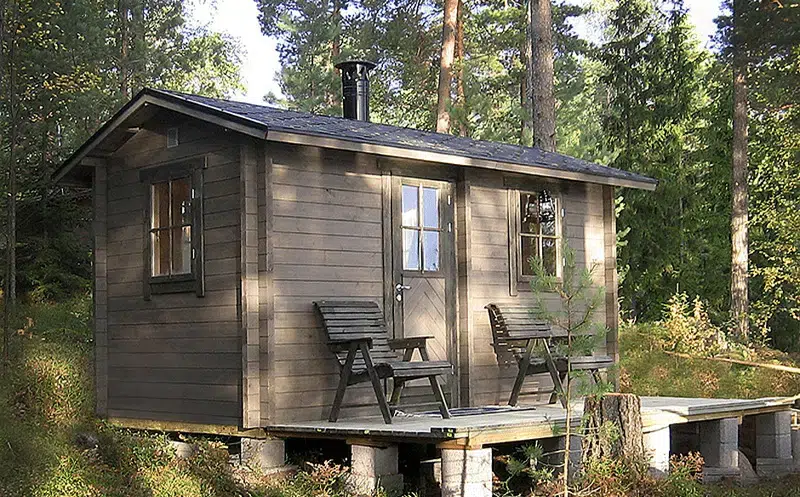
At Summer House 24 our guide on cleaning wooden sheds, both old and new, focuses on enhancing functionality, safety, and aesthetics. We walk you through comprehensive shed inspection, damage and condition assessments, tips on wood decay and structural integrity, general wear and tear check,s roof and foundation inspection, moisture and leak detection, and pest control methods…
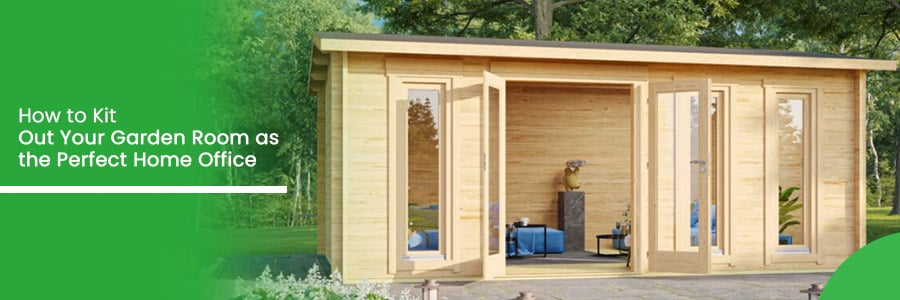
Have you found yourself working from home more often as part of your weekly routine? If so, a garden room can be the perfect solution for your work-from-home needs! With more people working from home more frequently, the popularity of garden offices and outdoor rooms dedicated to work has risen significantly. With no sign of…
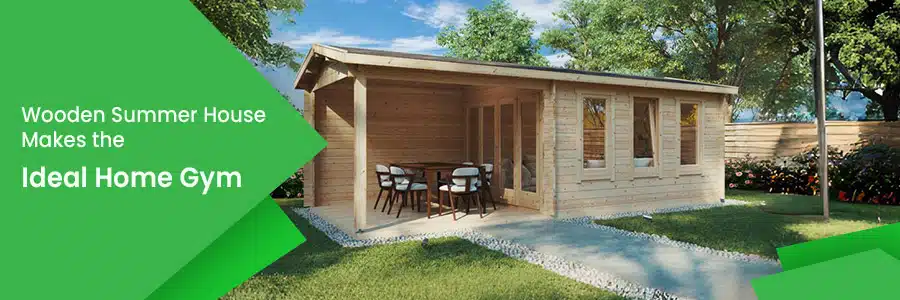
Are you considering turning your wooden summer house into the perfect home gym? Perhaps you already have a garden room you want to convert into a home gym, and you want some advice on what to do. Or maybe you are thinking about buying a wooden summer house to use as a home gym. Whatever…
It’s a debate that has gained significant traction in recent years. With more people working from home than ever before, the big question that is often asked is what the best home setup is for work life. In 2019, only 4.7% of us worked from home, but by January this year, 85% of people now…
Want to discuss over phone. Let us call back to you
If you need any additional info regarding any product, please fill in the below form and we will get back to you, usually the same or next working day.
Have any questions regarding some product?
If you need any additional info regarding any product, please send us your questions.