How to Assemble a Garden Sauna Cabin: A DIY Tutorial
24.05.2021

Transforming your backyard into a serene wellness retreat with a Finnish-style garden sauna cabin is a journey of both leisure and craftsmanship. Our DIY garden sauna cabins, rooted in traditional Finnish techniques, offer the pinnacle of design and quality. Equipped with essentials like sauna benches, spacious rooms, headrests, insulated ceilings, stove guards, and wooden floor grates, our cabins are a testament to luxury and comfort.
Have you recently purchased one of our garden sauna cabins? Let’s walk you through this easy DIY tutorial to set up a garden sauna cabin, ensuring your path to relaxation is as smooth as possible. For a visual guide, don’t forget to check out our instructional YouTube video on ‘How to Install a Log Cabin’.
Before you begin, be sure to read our comprehensive guide on how to install a summer log cabin.
Garden Sauna Cabin Assembly – A Step-by-Step Process
Building a garden sauna cabin can initially seem overwhelming, especially if it’s your first time. This guide will simplify each step, from the basic structure assembly to the final touches, ensuring your DIY project is a resounding success.
Step 1: Laying the Foundation
The foundation is the cornerstone of any sturdy structure, and our sauna cabins are no exception. Traditionally, a concrete slab foundation has been the go-to choice. This requires clearing vegetation and digging to a depth dictated by the building’s size and site conditions. The slab should extend about 50mm beyond the cabin’s footprint. This step can be labor-intensive, so consider professional help.
Alternatively, ground screws offer a novel solution, especially effective on uneven terrain. This involves driving large screws into the ground using specialized machinery.
Another viable option is a concrete pile foundation, which is a hybrid of concrete and plinth foundations.
For more detailed insights on foundations, check out the guide to popular bases for all types of garden buildings.
Step 2: Unpacking and Organizing
Organization is key in setting up your cabin. Upon unpacking, sort all elements based on their function. This process requires ample space, so ensure the area is clear.
Before assembly, impregnate the wood to protect against mold and insects. This process ensures all nooks and crannies are covered, providing long-term protection.
If opting for our installation services, keep the cabin package within 40 meters of the site to avoid rescheduling and extra charges.
Step 3: Foundation Frame Installation
A flat, solid base is essential. Misaligned bases can lead to operational issues with doors and windows. Our cabins come with pressure-treated foundation beams for moisture resistance. Ensure some form of ventilation beneath the cabin, like plastic risers, to prevent moisture accumulation. If using ground screws or raisers, ventilation is already integrated. Read about popular bases for log cabins in gardens.
Assemble the outer frame as per the plans and ensure the diagonals are even. Detailed instructions are usually found in the initial pages of our cabin plans.
Step 4: Wall Construction and Window/Door Installation
Begin by erecting the cabin walls as instructed. The first wall plank row should be securely attached to the foundation frame. Continue building the walls, checking alignment with the cabin plans at each step.
Install windows and doors following the plan’s specific instructions. Sliding or folding doors might have additional guidelines, available in your main instructions or separately. You can also check out the common instruction manual if your cabin is falling under conditions.
Step 5: Roof Assembly
After the walls, focus on the gable elements and rafters. Fasten them with screws and ensure alignment. Pay extra attention to connecting points in larger cabins. Once the structure is verified with a spirit level, proceed to install the roof boards. Roofing material should be applied only on a completely dry roof.
Step 6: Final Touches
The final steps include laying terrace boards, and floorboards, applying wood preservatives, and starting the interior setup. With some DIY experience and adherence to our instructions, building your Finnish sauna cabin can be an enriching experience.
Conclusion
Assembling a garden sauna cabin is a journey towards creating a personal haven of relaxation and wellness. By following these steps and utilizing our resources, you can successfully build a luxurious Finnish sauna right in your backyard. For more tips and insights, keep an eye on our blog, and discover the numerous benefits of owning a garden sauna cabin or barrel sauna.
Categories:
Blog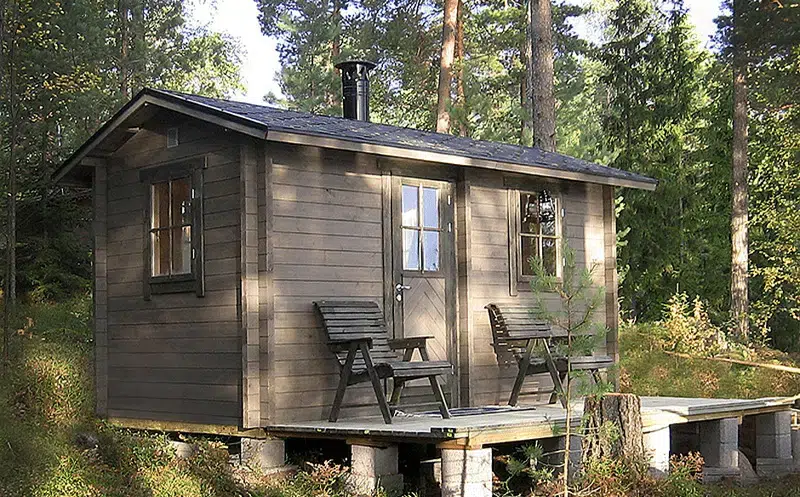
At Summer House 24 our guide on cleaning wooden sheds, both old and new, focuses on enhancing functionality, safety, and aesthetics. We walk you through comprehensive shed inspection, damage and condition assessments, tips on wood decay and structural integrity, general wear and tear check,s roof and foundation inspection, moisture and leak detection, and pest control methods…
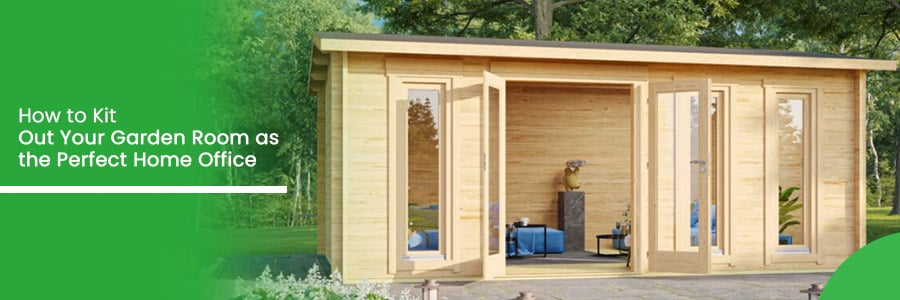
Have you found yourself working from home more often as part of your weekly routine? If so, a garden room can be the perfect solution for your work-from-home needs! With more people working from home more frequently, the popularity of garden offices and outdoor rooms dedicated to work has risen significantly. With no sign of…

Are you considering turning your wooden summer house into the perfect home gym? Perhaps you already have a garden room you want to convert into a home gym, and you want some advice on what to do. Or maybe you are thinking about buying a wooden summer house to use as a home gym. Whatever…
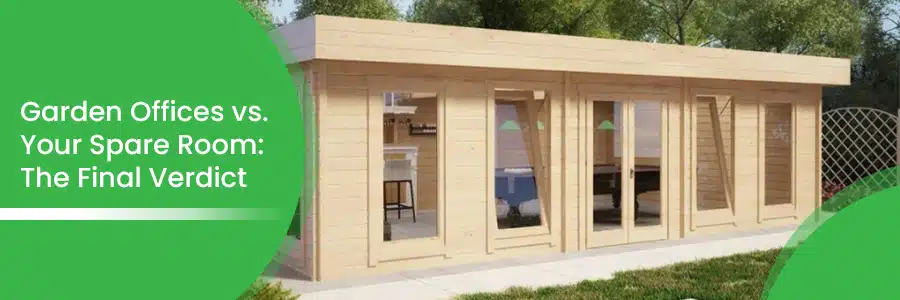
It’s a debate that has gained significant traction in recent years. With more people working from home than ever before, the big question that is often asked is what the best home setup is for work life. In 2019, only 4.7% of us worked from home, but by January this year, 85% of people now…
Want to discuss over phone. Let us call back to you
If you need any additional info regarding any product, please fill in the below form and we will get back to you, usually the same or next working day.
Have any questions regarding some product?
If you need any additional info regarding any product, please send us your questions.