Building a Wooden Log Cabin in 10 Easy Steps
19.10.2017
Most people would probably think that it is a very complicated process to build a wooden log cabin, but we will give you an easy straightforward instruction of how to do it in the following article. If you employ a helping hand with reasonable DIY skills, you can do it in just one day.
In our example, we put together a 14,5m2 Modern Summer House Hansa Lounge XL with veranda, but the same method can be applied to all of our models.
We will also display a video at the end of the article so you can follow the process in detail.
The ten steps:
- Order your wooden log cabin
- Lay a foundation
- Unpack the package on the very day you start assembling the wooden log cabin
- Assembling the foundation planks
- Building up the walls
- Installing supporting posts and storm-braces
- Installing the roof
- Parapets and bitumen
- Windows and doors
- Floor and veranda
Tools that you will need:
- screwdriver
- hammer
- rubber mallet
- level (spirit or laser, both work)
- tape measure
- wrench
- drill
- wood saw
- ladder
It would probably be good to even have one rubber mallet and one hammer for everybody.
If you decide for a proper concrete foundation you will need additional tools, which we haven’t listed above. However, we have a guide for you how to make a base for your wooden garden log cabin.
Building a Wooden Log Cabin in 10 Easy Steps
Order your wooden log cabin
Think about what you will use your new wooden log cabin for, plan the right size, and check the available space in your garden. With a log cabin over 2,5m height, you will have to keep a distance to the border of two meters. Also, think about if you will maybe in the future want to use your wooden log cabin as a garden room for winter also, so you would rather order a log cabin with thicker walls of 40mm or more to achieve a better insulation.
You might also plan for a little bigger model than what you need right now because we tend to buy new things, and change our hobbies, and with all that, we often see an evolution of usages in garden log cabins.
Your new wooden log cabin will reach your home in a weatherproof packaging, in which you can keep it safely until the day you want to assemble your garden log cabin.Lay a foundation
A proper base is a necessary requirement for both: a smooth construction and a long life of your wooden log cabin. The area should be slightly raised to let surface water flow away and if necessary drained.
There are different types of foundations possible. Please read our tutorial about the different kinds of bases for a log cabin and how to build them.
A good base will keep the building away from moisture from the ground and provide an even working surface for the construction of the wooden log cabin.
If you are looking for a very easy solution, then paving slabs on gravel or even evened out breeze blocks could be possible. However, at least a few deep concrete point foundations would be good to later anchor the building to the ground to secure it from strong storms.Unpack the packages on the assembly day
That way you can make sure that all parts are still dry and in top quality. Choose a sunny day for the assembly, and organize the components using the packing list. They are all numbered and every log cabin comes with a detailed instruction manual. The set includes all screws, nails, fixings, doors, windows and all necessary materials. Compare the components to the packing list and ensure that you have all the tools, components and necessary details present before you start with the assembly.
Assembling the foundation planks
The outer planks will form the frame on which the walls of the wooden log cabin will be built. They must be levelled, well-balanced and with right angles. Otherwise, it will not be possible to assemble the building smoothly. So take your time to get this first step right. Check the diagonals. They must be absolutely even.
To insulate the wood from the ground you can use strips of bitumen between the foundation planks and the base. Also, it would be good to see to it that there will be some space below the foundation planks to provide some ventilation from below.
All of our foundation planks are pretreated, so there is no need for you to apply any wood treatment at that stage. Evenly space your floor bearers across the base inside the frame.
Once everything is levelled and balanced, you can screw together the foundation planks according to the building plan of your wooden log cabin.Building up the walls
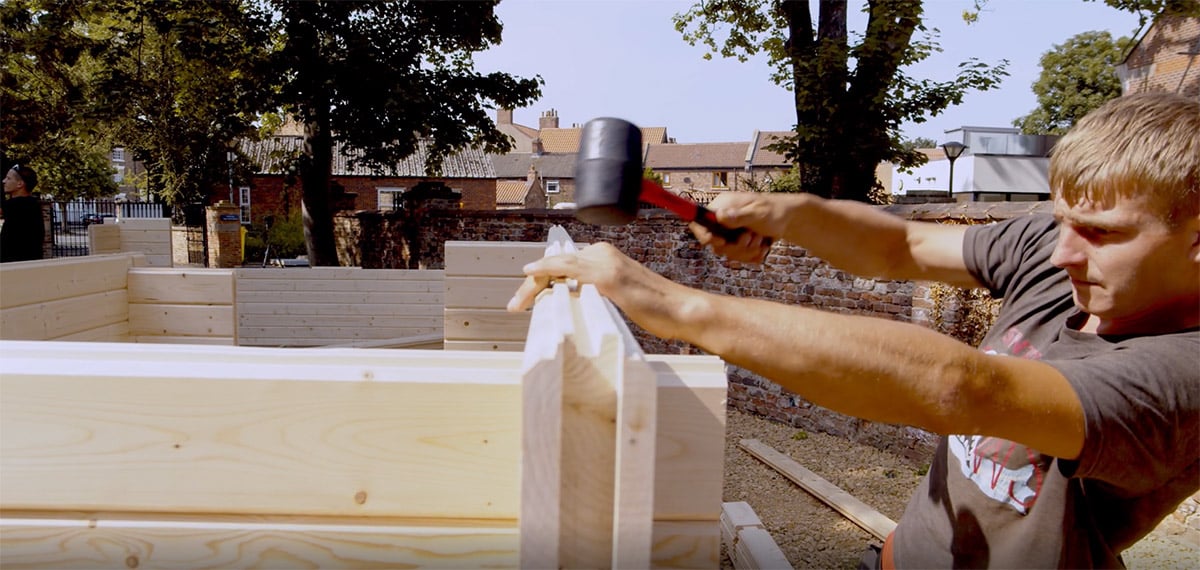
Lay the first row of wall planks onto the foundation and screw them to the frame. This literally lays the foundation to your whole wooden log cabin, so make sure that they are levelled and balanced. Be careful not to damage the wooden tongues with a metal hammer. Instead, use pieces of planks with a double groove and the rubber mallet to gently push the planks together. Make sure they’re tightly connected in the tongue and groove all along the length of the logs.
The next rows don’t need any screwing any more. The double tongue and groove connection, the weight of the building plus the stable corner connections will provide an excellent stability.
Some wall parts without corners to hold them will initially be stabilized with metal rods in pre-drilled holes, to enable an easy and exact assembly.
The upper row of wall planks have cuttings for the roof joists.Installing supporting posts and storm-braces
If your wooden garden log cabin has a veranda with supporting posts, you will have to cut them into a length of 5cm shorter than the distance from the foundation plank to the roof joist because they will be placed on adjustable metal stands. These stands are screwed into the respective foundation joists and fixed with their metal rod into a pre-drilled hole in the base of the post.
Please study the manual for your specific wooden log cabin carefully to find out where exactly the stands have to be placed. The last row of wall planks can then be supported by the posts.
Storm-braces are threaded rods that are vertically put through pre-drilled holes in the walls to ensure that the upper part of the log cabin stays with the lower part in cases of vacuums created by strong storms. You must fix them with nuts on both sides, but just use your fingers, because you want to avoid pressure in order to let the timber settle naturally during the first year. After one year, you can re-fasten the nuts again.Installing the roof
The Modern Summer House Hansa Lounge XL has a flat roof with a slight pitch, so we will describe building a flat roof here. If your wooden log cabin has a gabled roof you can follow your building plan that comes with the package.
The roof joists are easy to install. They have to be laid with their cuttings into the respective cuttings of the upper wall planks to give the whole construction stability. Now you can start to see how much space your new wooden log cabin will provide for you.
The roof boards are 7-10cm shorter than the top planks of the side walls in order to leave a space for rainwater to flow down between the end of the roof boards and the parapet at the lower roof side.
Nail the roof boards from one side to the other covering the whole length of the roof joists. The last one will have to be cut to the fitting width.Parapets and bitumen
Install the parapet at the higher end of the roof first. That would be the front side of your wooden garden log cabin. Place it so that it is about 5 cm higher than the roof, so you will have a little space for the bitumen and the U – profiles later. It must be levelled and firstly screwed only to the ends of the roof boards, the ends of the upper wall planks of the side walls and the upper side wall over the veranda. Screwing into the ends of the boards will not give enough stability so you will fit in parapet supports between the front wall and the parapet to give it more stability. You can use connecting strips to put the parapets together to reach the necessary length.
The side parapets can be screwed to the ends of the roof joists and the parapet at the lowest side of the roof will be screwed to the ends of the side parapets, the ends of the side wall planks and you will use parapet supports also, as with the front parapet. Finally, you should also screw all parapets to each other at the corners.
Rolls of self-adhesive roofing felt are part of the package, and you can roll it out while removing the film at the same time starting at the lower end. Let the roof felt hang over about 3 cm at the lower end to keep the water away from the rear ends of the roof boards.
Then you work your way up rolling out the tape with overlaps of about 15-20 cm. Also, cover the inner sides of the side parapets.
Before placing the U-profiles on the parapets, you will have to cut them to length. You should use a 45 degree cut at the ends, so the U-cut will not show anywhere. Place the upper sides of the parapets with the roofing felt in the U-cut and fix the U-profiles with screws.Windows and doors
As you can see, the windows and doors of your wooden log cabin from Summerhouse24 are delivered in frames in which they can open and close. These frames will have to be framed with 4 additional laths to fix them in the window holes.
You will start to screw the 4 outer frame planks to the window frame. Then you can insert the window frames with the windows in them. You will stabilize the window by screwing the inner 4 frame planks to the window frame. Now the window is fixed in the window hole. There must be a clearance of a few centimetres especially above the window to enable the walls to settle during the first year. This is also the reason why you should never screw the window-frame directly to the wall planks.
Doors will be inserted the same way just without the lower frame planks.Floor and veranda
Now your new wooden log cabin is nearly finished. The floorboards are simply nailed onto the foundation planks from one side to the other. Some floorboards will have to be adjusted to fit together with the door frame. You will probably have to cut the last one to size to fit it into the remaining space. Don’t worry if you will leave a small gap at the end because the skirting laths, nailed to the walls will cover that.
Other than the floorboards, the pre-impregnated terrace boards are nailed or screwed to the foundation planks with a distance of 3 to 5mm between them to enable quick drainage of surface water during heavy rains coming in from the side.
And that’s it! Your new wooden log cabin has been completely installed and you should treat it with a protective wood preservative as soon as possible. After that, you can use it for whatever you like to do.
To understand the process even better, you can take a look at the short video here: https://www.youtube.com/watch?v=q6xrGgMwW9Q
Tools
- screwdriver
- hammer
- rubber mallet
- level (spirit or laser, both work)
- tape measure
- wrench
- drill
- wood saw
- ladder
Materials
- Pre-fabricated wooden garden log cabin
Categories:
Blog
At Summer House 24 our guide on cleaning wooden sheds, both old and new, focuses on enhancing functionality, safety, and aesthetics. We walk you through comprehensive shed inspection, damage and condition assessments, tips on wood decay and structural integrity, general wear and tear check,s roof and foundation inspection, moisture and leak detection, and pest control methods…
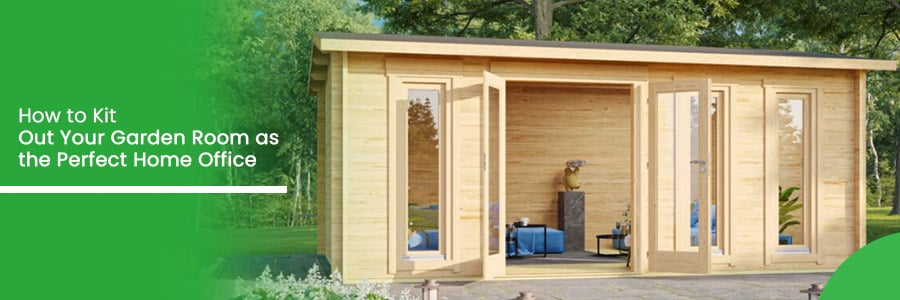
Have you found yourself working from home more often as part of your weekly routine? If so, a garden room can be the perfect solution for your work-from-home needs! With more people working from home more frequently, the popularity of garden offices and outdoor rooms dedicated to work has risen significantly. With no sign of…
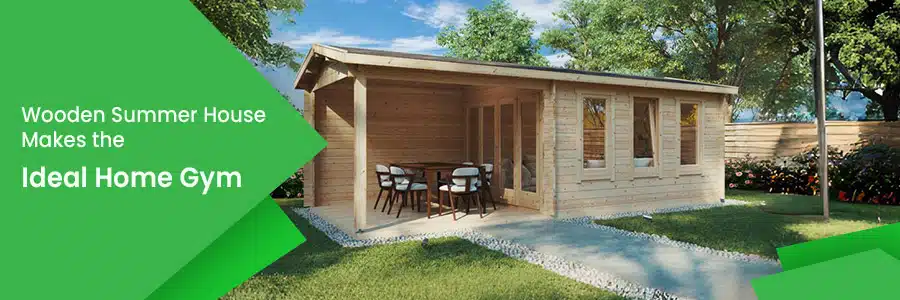
Are you considering turning your wooden summer house into the perfect home gym? Perhaps you already have a garden room you want to convert into a home gym, and you want some advice on what to do. Or maybe you are thinking about buying a wooden summer house to use as a home gym. Whatever…
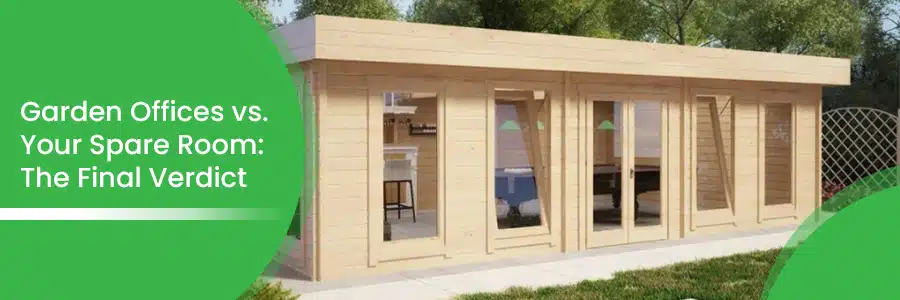
It’s a debate that has gained significant traction in recent years. With more people working from home than ever before, the big question that is often asked is what the best home setup is for work life. In 2019, only 4.7% of us worked from home, but by January this year, 85% of people now…
Want to discuss over phone. Let us call back to you
If you need any additional info regarding any product, please fill in the below form and we will get back to you, usually the same or next working day.
Have any questions regarding some product?
If you need any additional info regarding any product, please send us your questions.